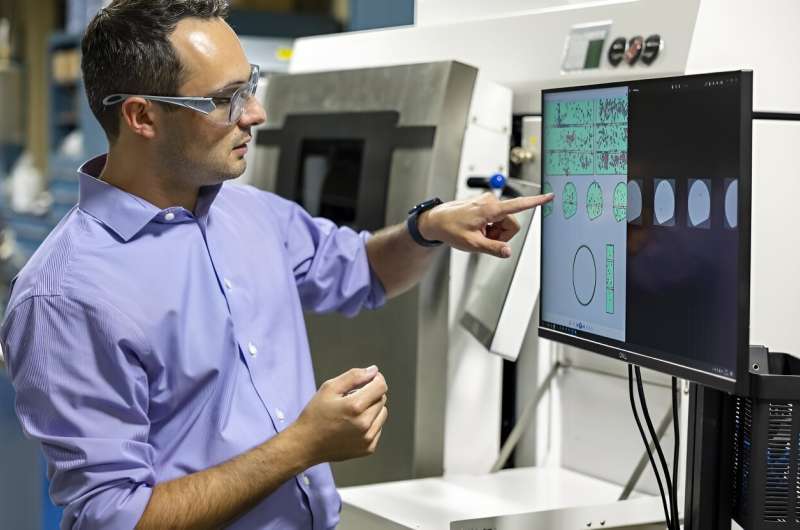
Researchers at Oak Ridge National Laboratory, a Department of Energy facility, have improved the flaw detection system to improve confidence in metal components that are 3D printed using laser powder bed Fusion.
Additive manufacturing allows the aerospace, energy, nuclear, and defense industries to produce highly specialized, complex-shaped parts using a variety of materials. The technology is not widely used due to the difficulty of checking the product accurately and thoroughly. Conventional inspection methods might not detect flaws that are embedded deep within the layers of the printed part.
Researchers at ORNL developed a technique that combines the inspection of a printed part after its construction with data collected by sensors during the print process. This data is then used to train a machine learning algorithm that can identify defects in the product. This framework is even more important because it allows operators to be sure that they can detect flaws as accurately as with traditional methods, which require more time and effort.
“We can detect flaw sizes of about half a millimeter—about the thickness of a business card—90% of the time,” said ORNL researcher Luke Scime. “We are the first to assign a numerical value to the degree of confidence that can be achieved for flaw detection in situ (in the process).” This reflects a level of confidence in the safety and reliability of the product.
Laser powder bed-fusion is the most popular metal 3D printing process. It uses a high energy laser to melt metal powder which has been spread over a build plate. The build plate then lowers, before the system spreads a layer and melts it. This slowly builds up the designed item.
Engineers are aware that there will be defects in the material.
Zackary Snow is an ORNL researcher. “For normal manufacturing, we know these things and where to find them.” “(Operators know) the probability they can detect a flaw of a specific size, so that they know how many samples to inspect in order to get a sample representative.”
The same level of confidence has not been shown by 3D printers.
Snow stated that the lack of a serial number made it difficult to qualify and certify components. It’s one of additive manufacturing’s biggest obstacles.
Recent publication of a paper by ORNL and RTX researchers Additive Manufacturingexplains their process to reduce the likelihood of false positives that can lead to the destruction of good products.
RTX, a company in the aerospace and defence industry, created a part that was similar to a product it produces. This allowed them to identify flaws with realism. RTX then printed the part in 3D multiple times while monitoring with a near-infrared standard camera and a visible-light added camera. Both RTX’s and ORNL’s researchers used X-ray computerized tomography scans, also known as CT scanners, for quality inspections.
With the help of RTX, ORNL experts in additive manufacturing aligned data into a layered pile of images that became the textbook for machine-learning algorithms. During the training phase, the machine-learning algorithm made a first pass to label flaws based on the CT scan images. After the algorithm had labeled the flaws, a human operator added annotations based upon visual cues in the data collected by the printer. Human feedback is used to continue training the software so it recognizes faults more accurately every time. In this new approach, previous ORNL advancements in in-situ-monitoring and deep-learning were used. Over time, the human inspection of manufacturing will be reduced.
Snow stated that “this allows CT-level assurance without CT.” CT imaging is used to verify some 3D-printed components. But it’s expensive, because it takes more time and requires expertise. CT imaging and analysis is limited by the fact that it cannot penetrate metals.
Scime stated that when the algorithm is used to analyze a design manufactured consistently with the same materials and processes, it can become proficient in providing a consistent quality assessment within 1-2 days. The software also takes into account all it has learned about different designs and constructions so it can check unfamiliar products.
ORNL’s inspection framework may help expand the use of additive manufacturing. Snow says that additive manufacturing, which involves the use of statistically validated quality control, could make it possible to mass-produce products such as car parts.
This could lead to a greater variety of 3D-printed parts. It allows for more design freedom when you know how small the flaws are. This is important because the industry is already headed toward larger print volumes and faster print rates—meaning more lasers interacting to create bigger parts with different types of flaws, said Brian Fisher, senior principal engineer for additive manufacturing at RTX’s Raytheon Technologies Research Center.
“You can really start to save time and money and make a business case when printing larger assemblies—except those are also the hardest to inspect today,” Fisher said. “The vision is to use additive manufacturing techniques to make large parts that are highly complex and made of dense materials. These parts would have been very expensive and difficult for inspectors in the past.
The ORNL team is now training the deep-learning algorithms to differentiate between different types of irregularities, and to categorize faults with multiple causes.
Further information
Zackary Snow, et. al. Scalable in-situ non-destructive assessment of additively manufactured parts using process monitoring and sensor fusion. Additive Manufacturing (2023). DOI: 10.1016/j.addma.2023.103817
Oak Ridge National Laboratory
Citation:
New inspection method improves confidence in 3D laser powder bed fusion printing (2023, 26 October)
Retrieved 26 October 2023
from https://techxplore.com/news/2023-10-method-confidence-laser-powder-bed.html
Copyright applies to this document. This document is protected by copyright.
No part of the website may be reproduced or copied without written permission. This content is only provided as information.


