You can build a desktop air-conditioner with a few simple tools and components. We’re going to 3D print the various parts of our fan—if you don’t have a 3D printer, you could use cardboard instead, although it won’t be as durable.
What you need to build a desktop fan using 3D printing
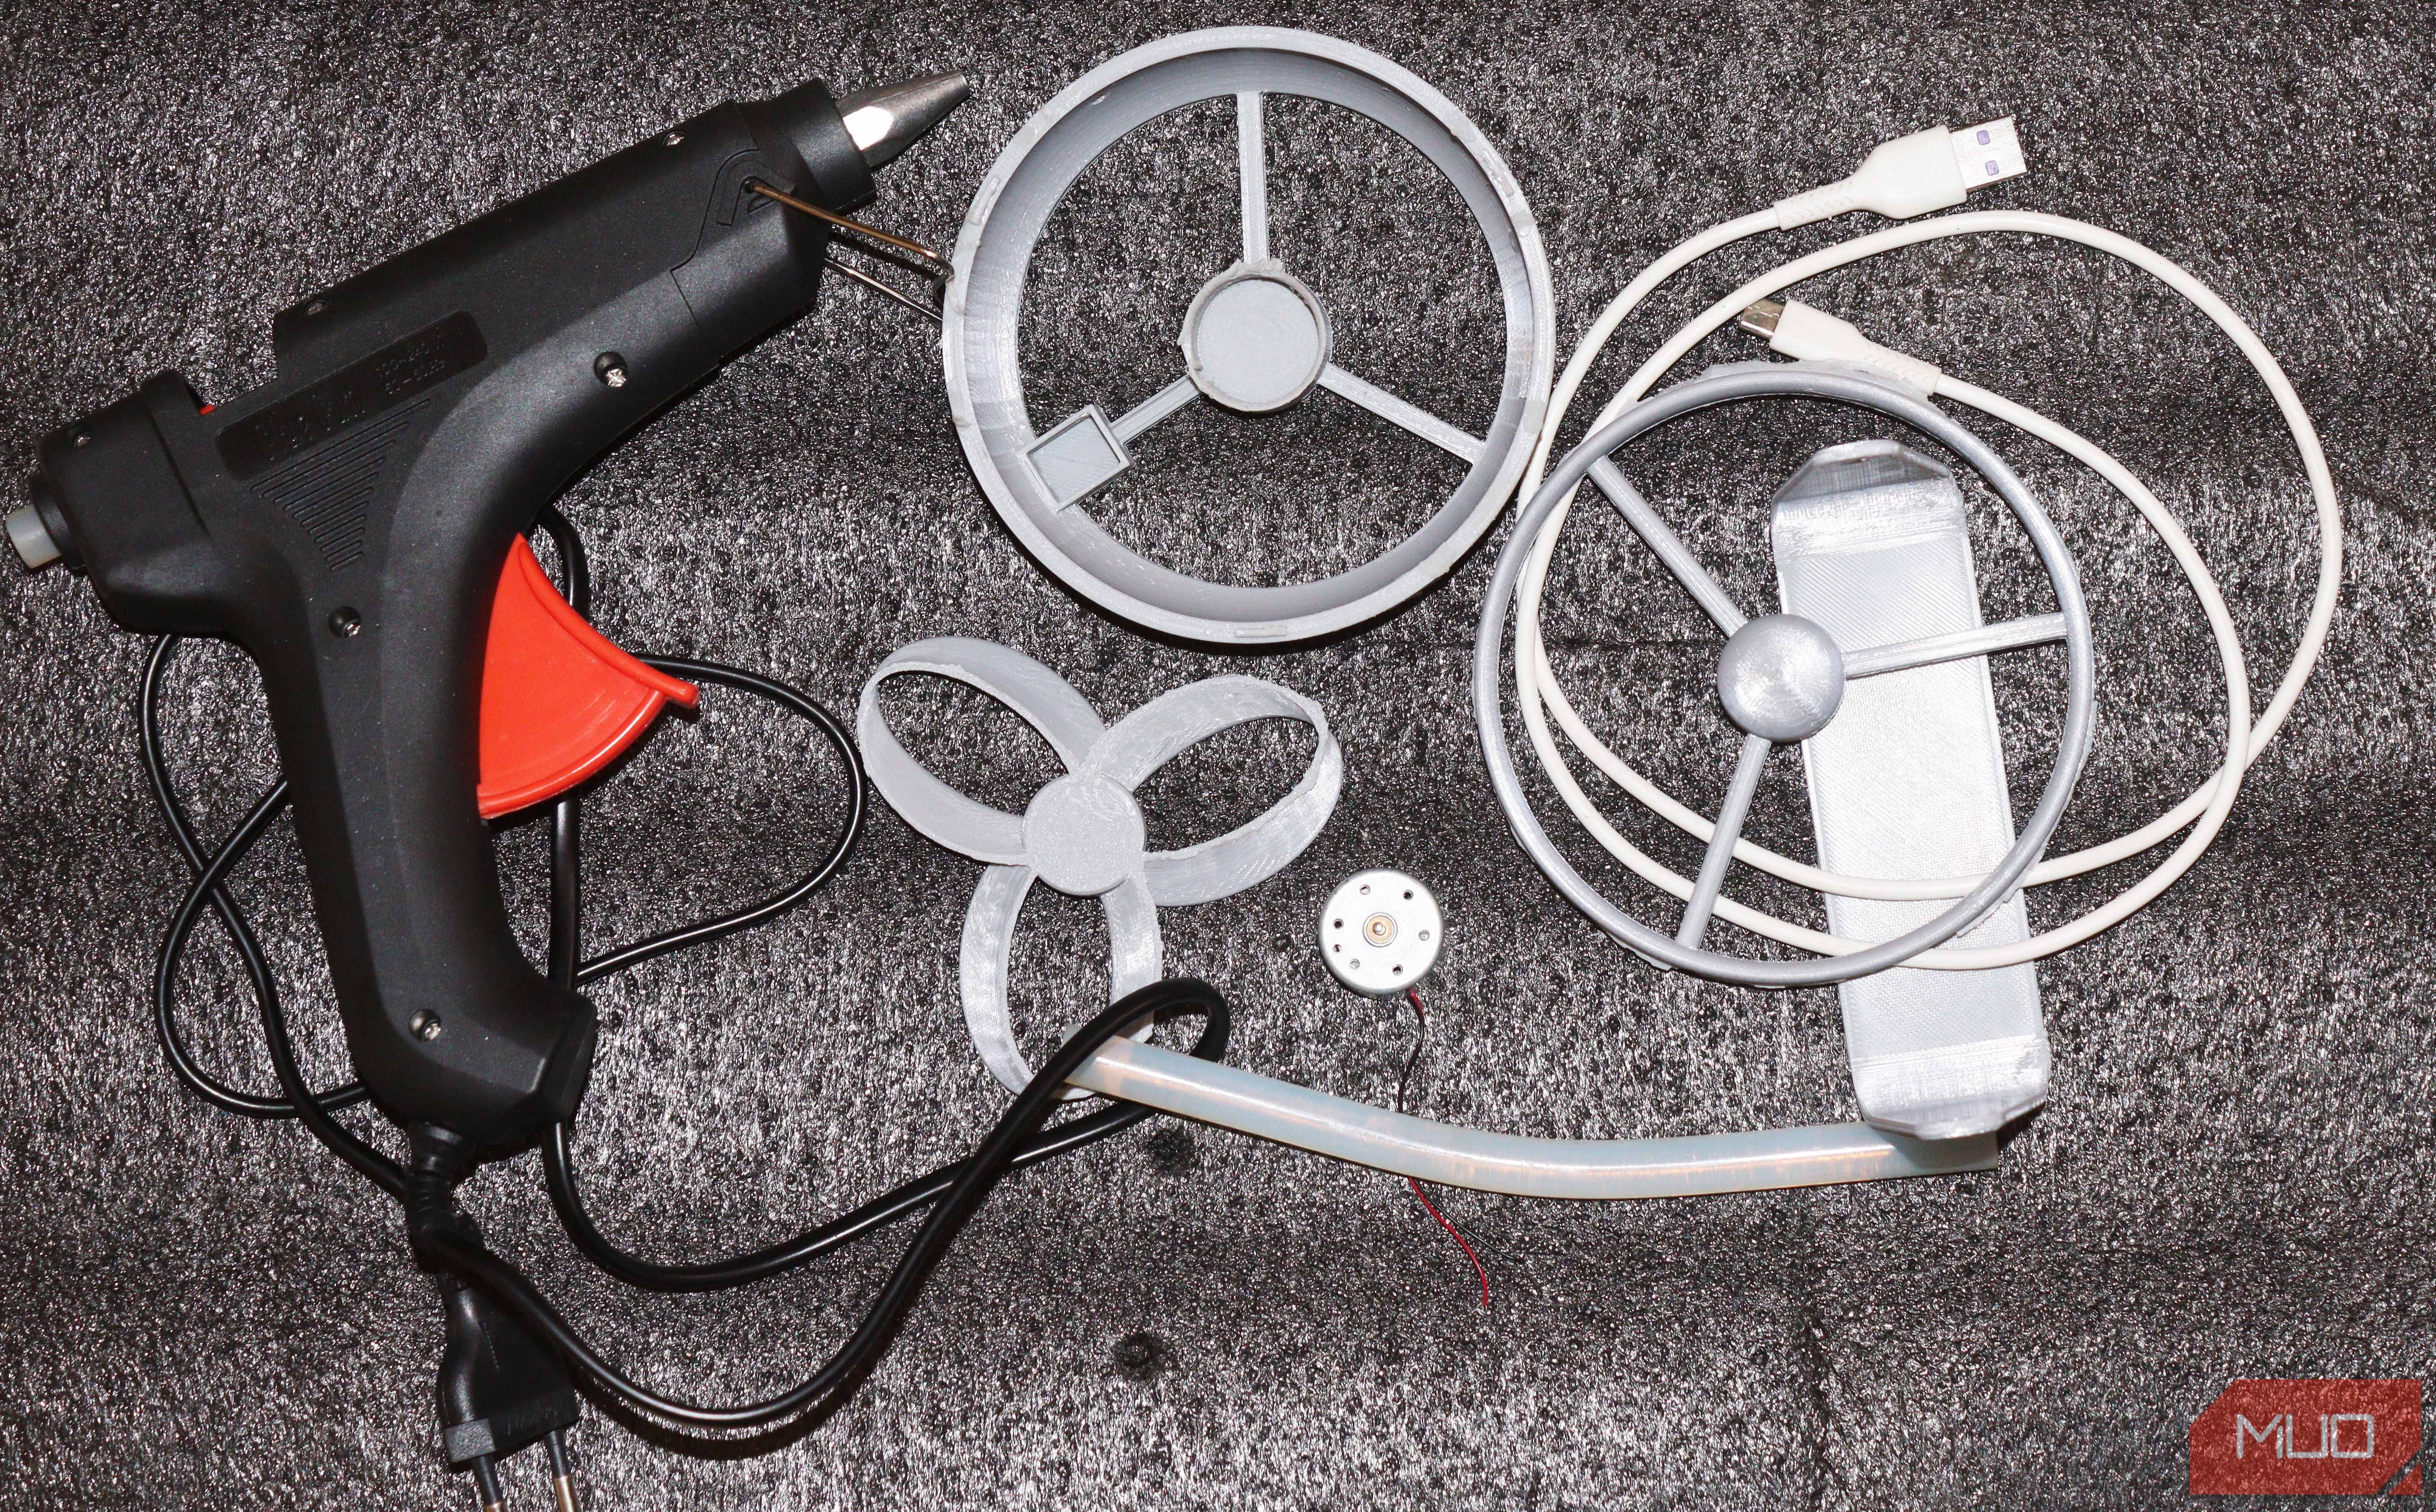
To make the fan, you will need the following materials:
Follow the steps below once you have collected all the necessary items to begin building the 3D-printed version of the fan.
Step 1: Prepare the files for 3D printing and download them.
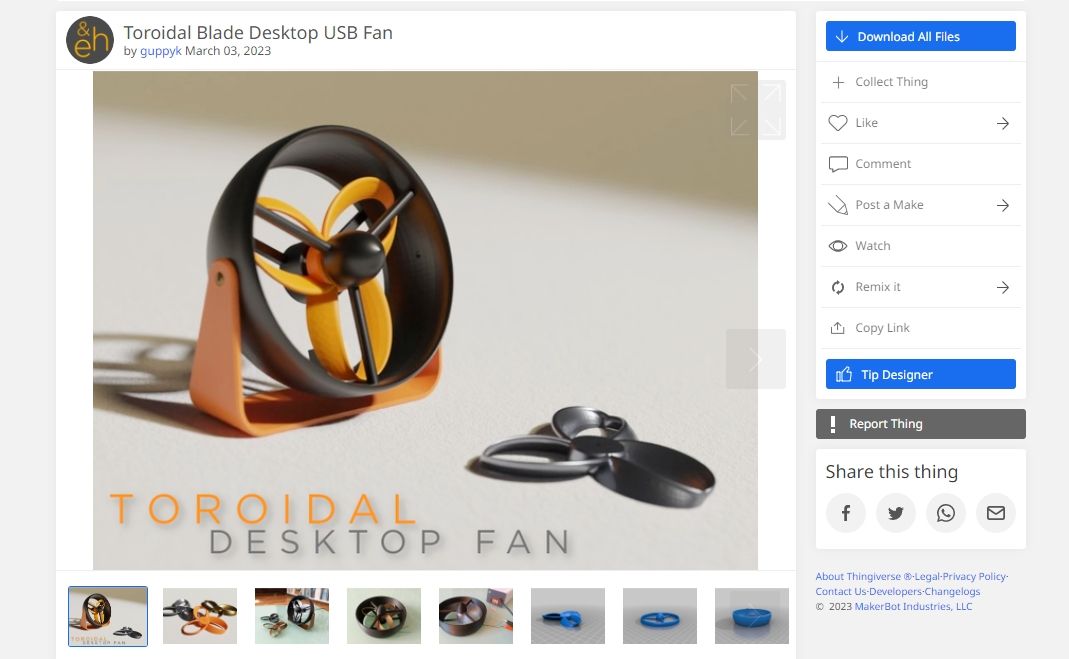
There are a lot of files for desktop fans that you can download and 3D print, but for this project we’ll use a toroidal blade desktop USB fan design—you can download the files from its Thingiverse page.
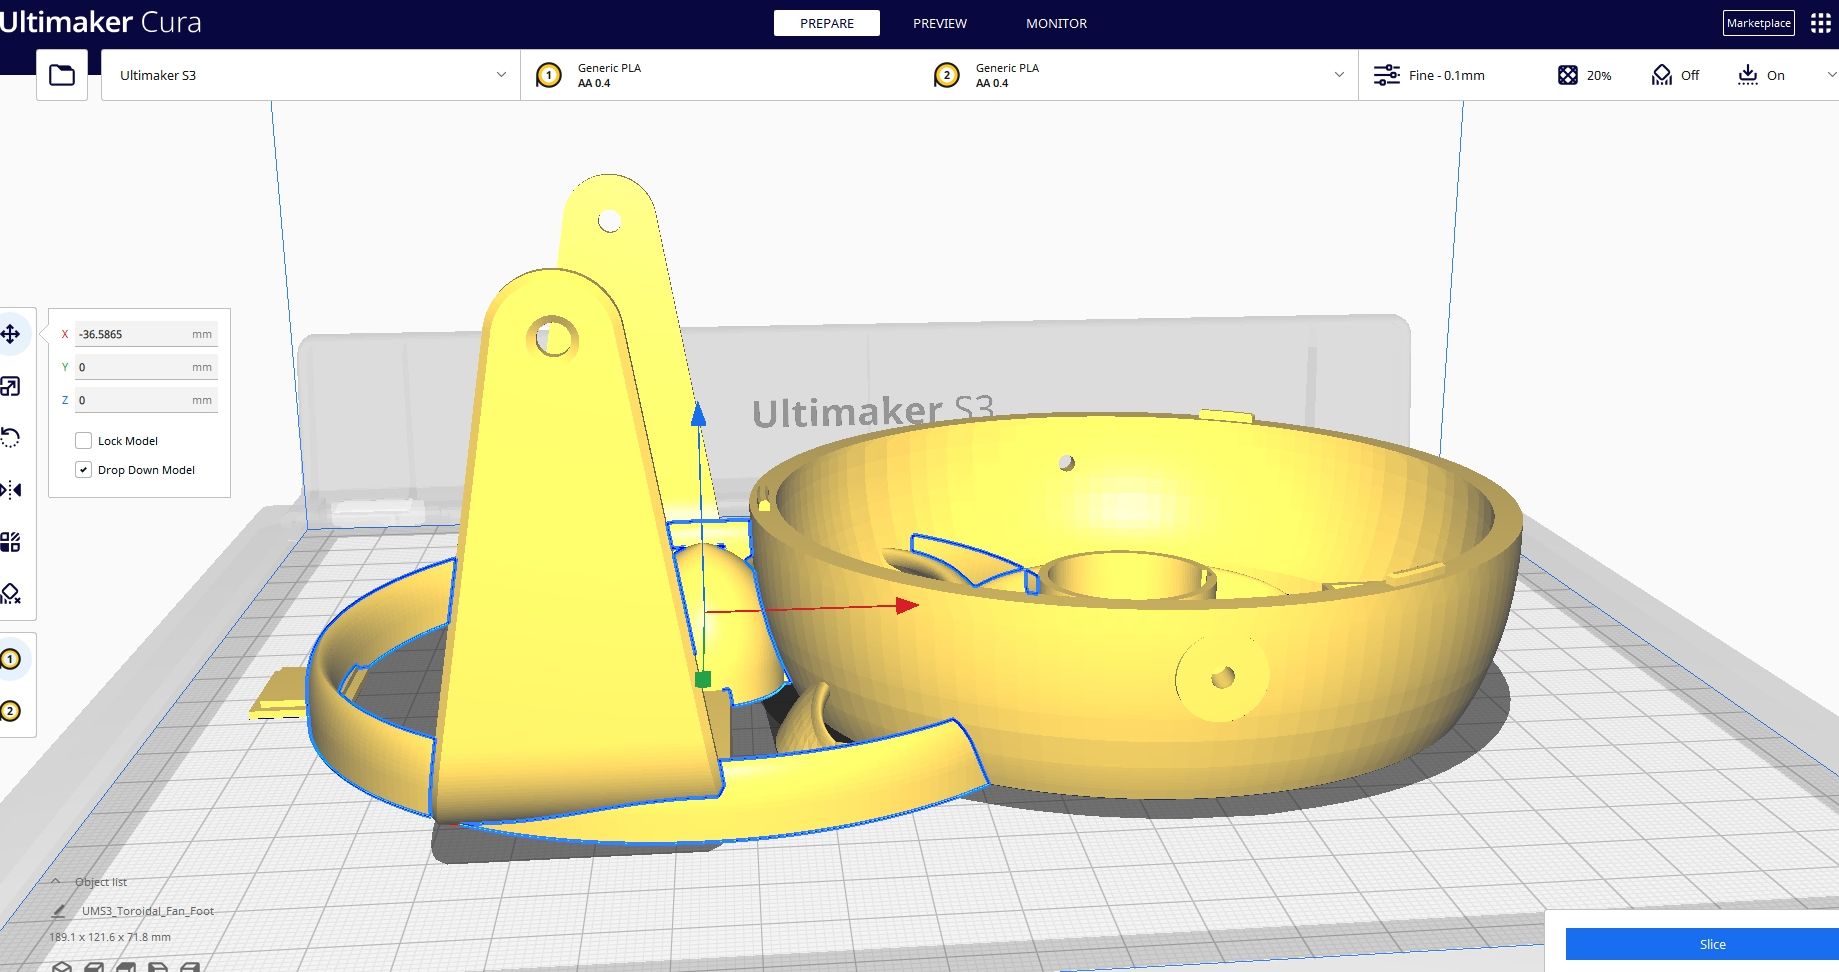
You need to download all five files. To prepare the files for 3D printing, you will need to import and extract them from the downloaded file. You can arrange the files after importing them to 3D print all of them together.
After you have set up everything, you are ready to start 3D printing. You can print the parts with an infill of 30 % and a layer height of 0.22 mm. You should end up with the parts below when you have finished 3D printing.
After you have completed the post-processing, you can assemble your parts.
Step 2: Inserting the motor into the fan casing
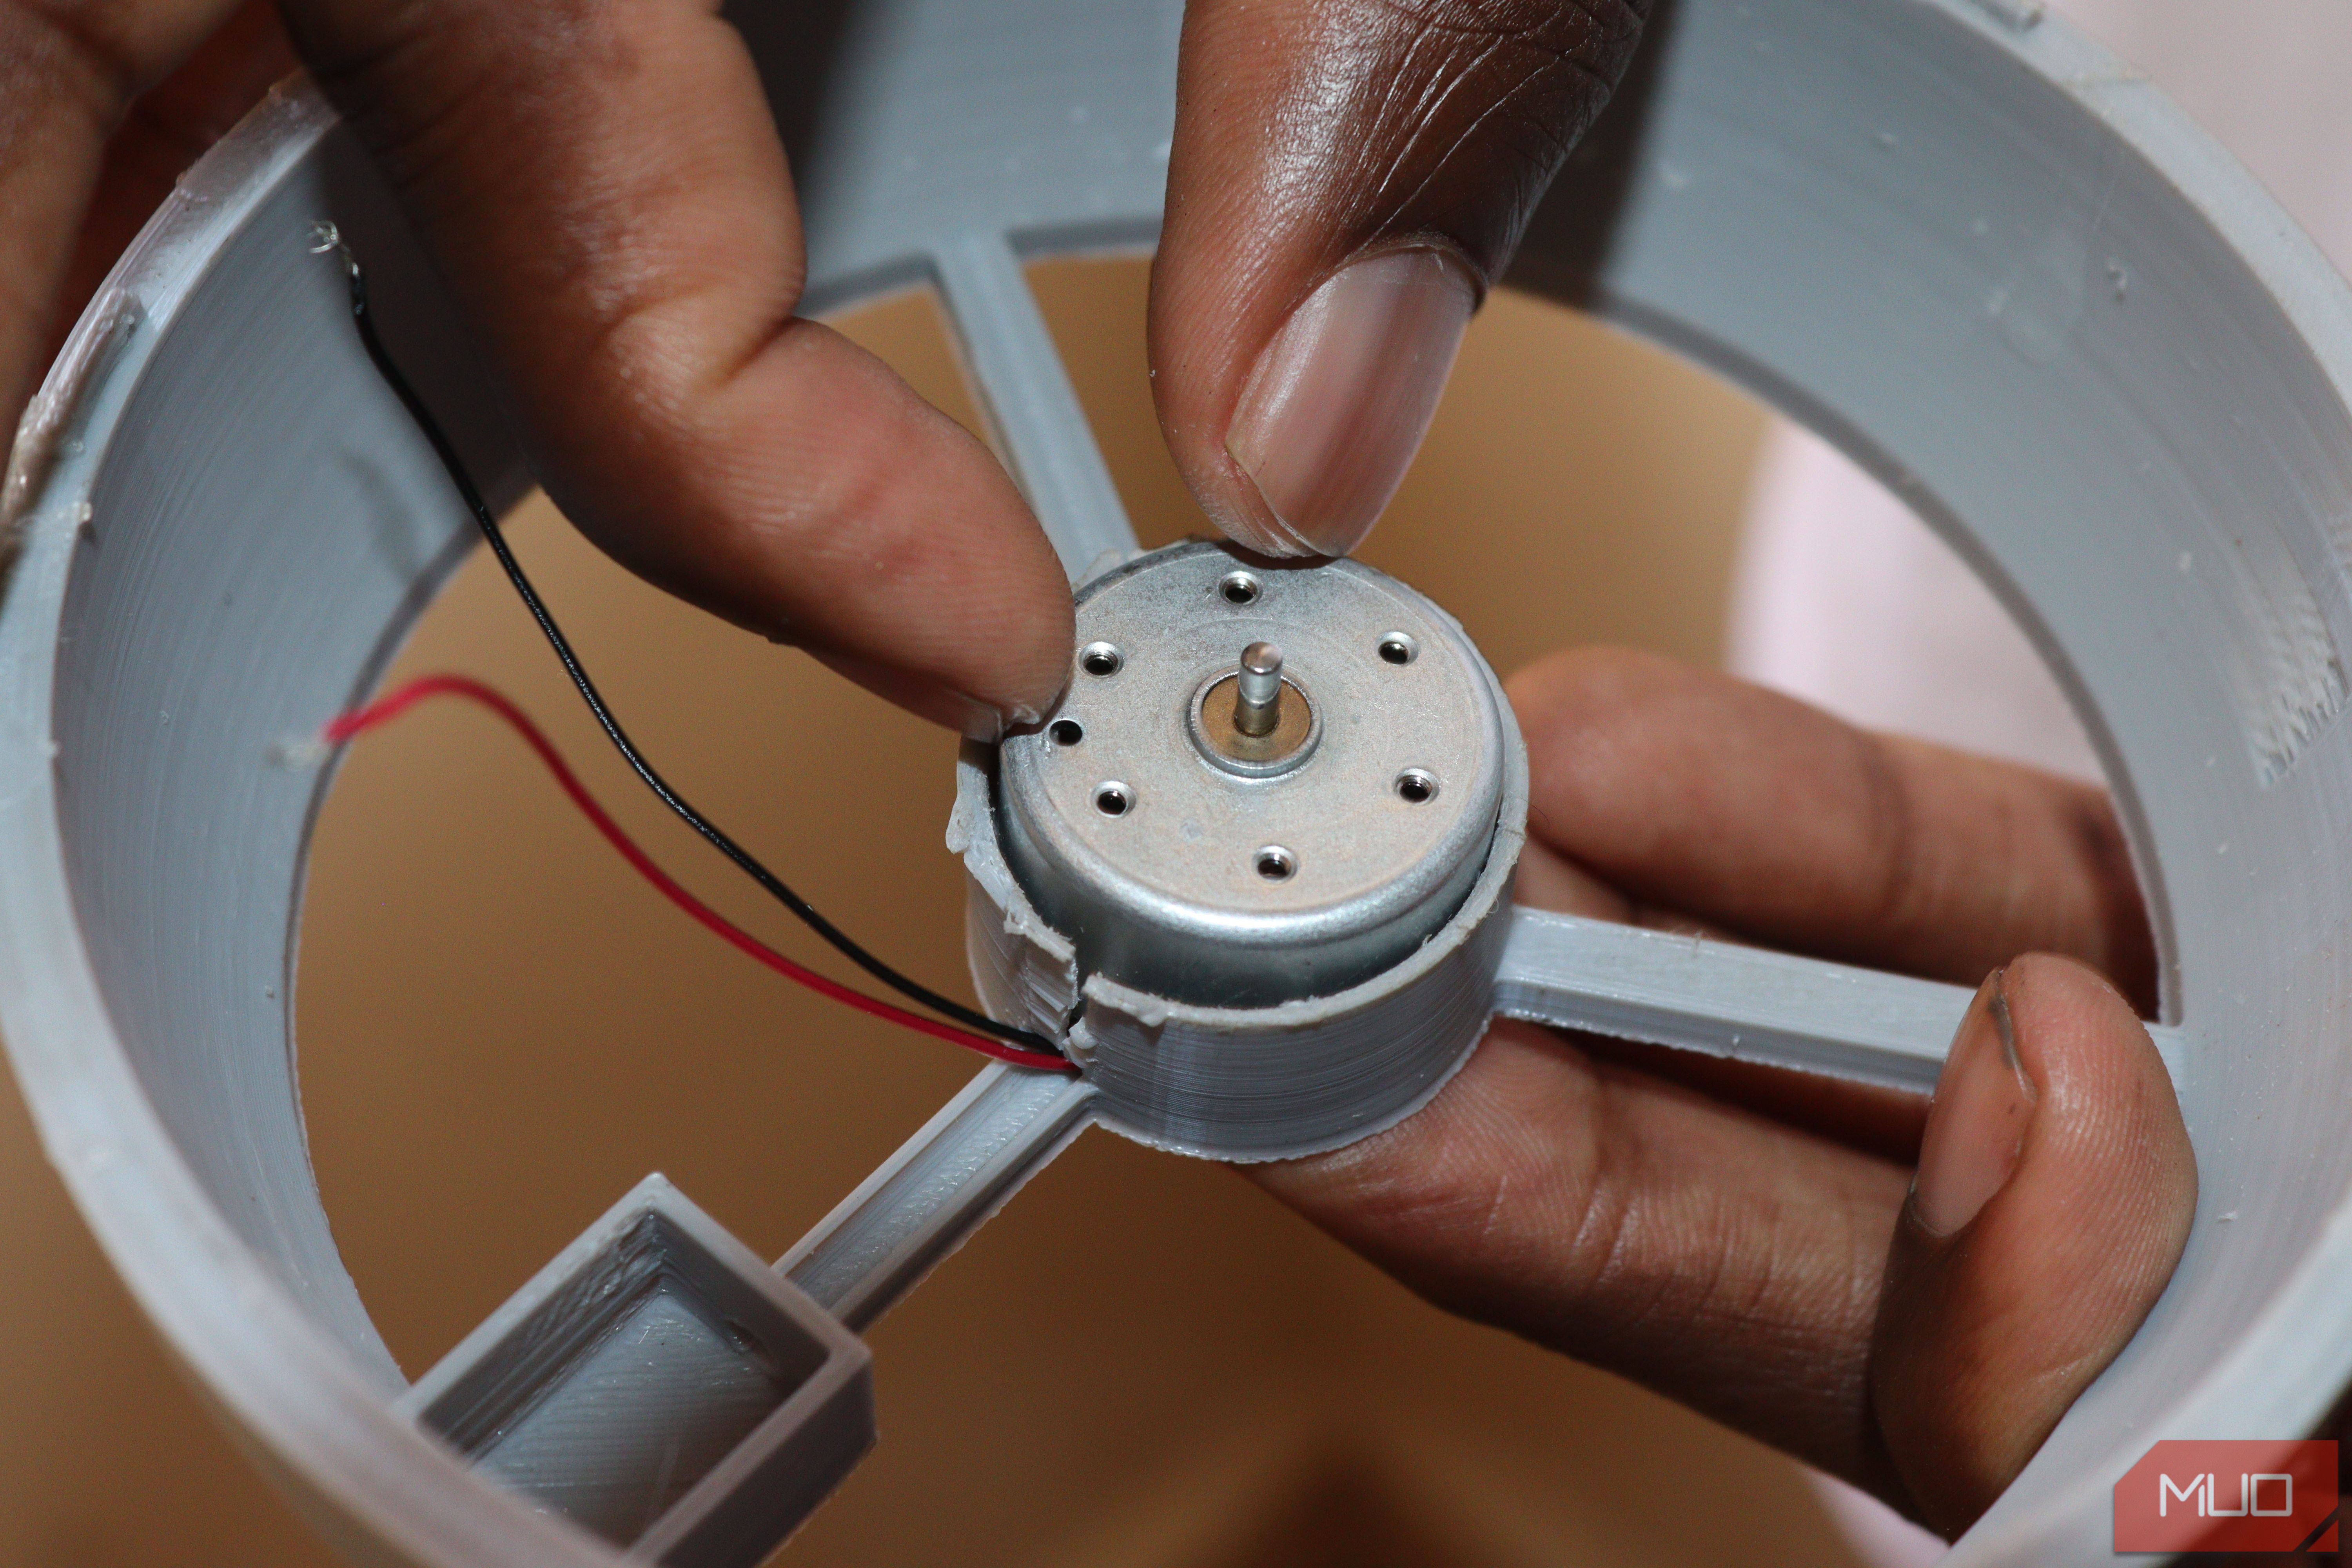
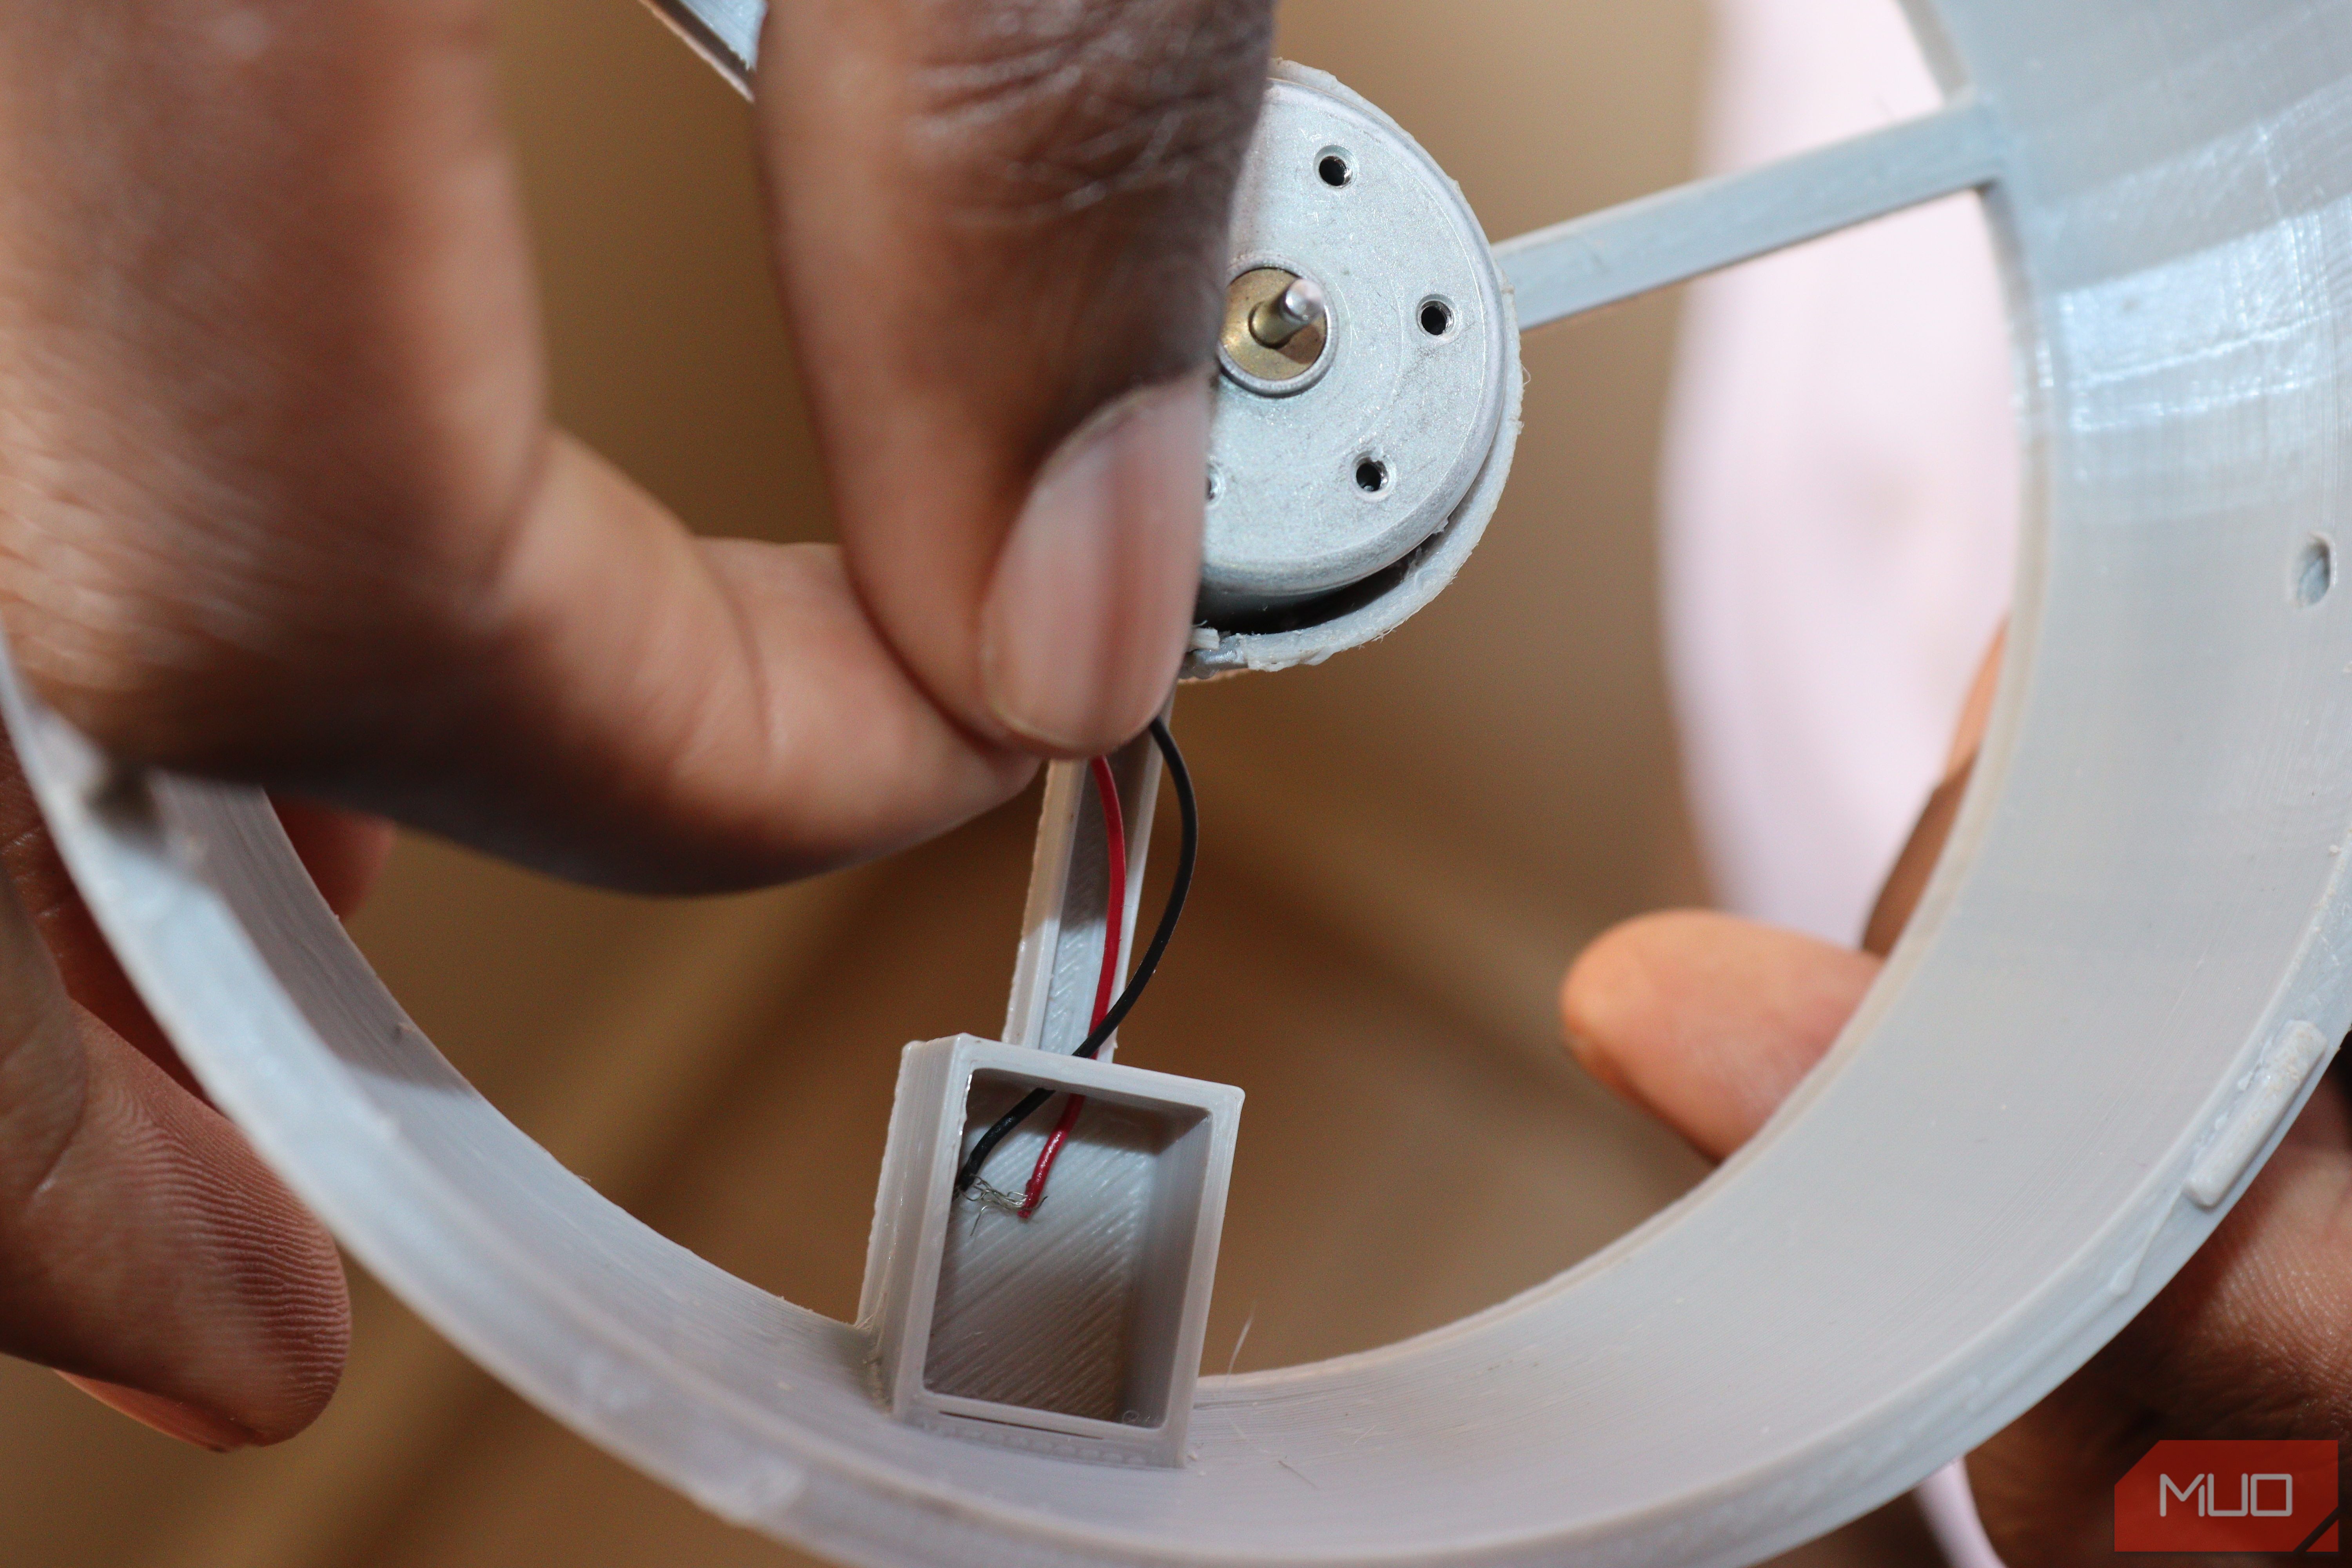
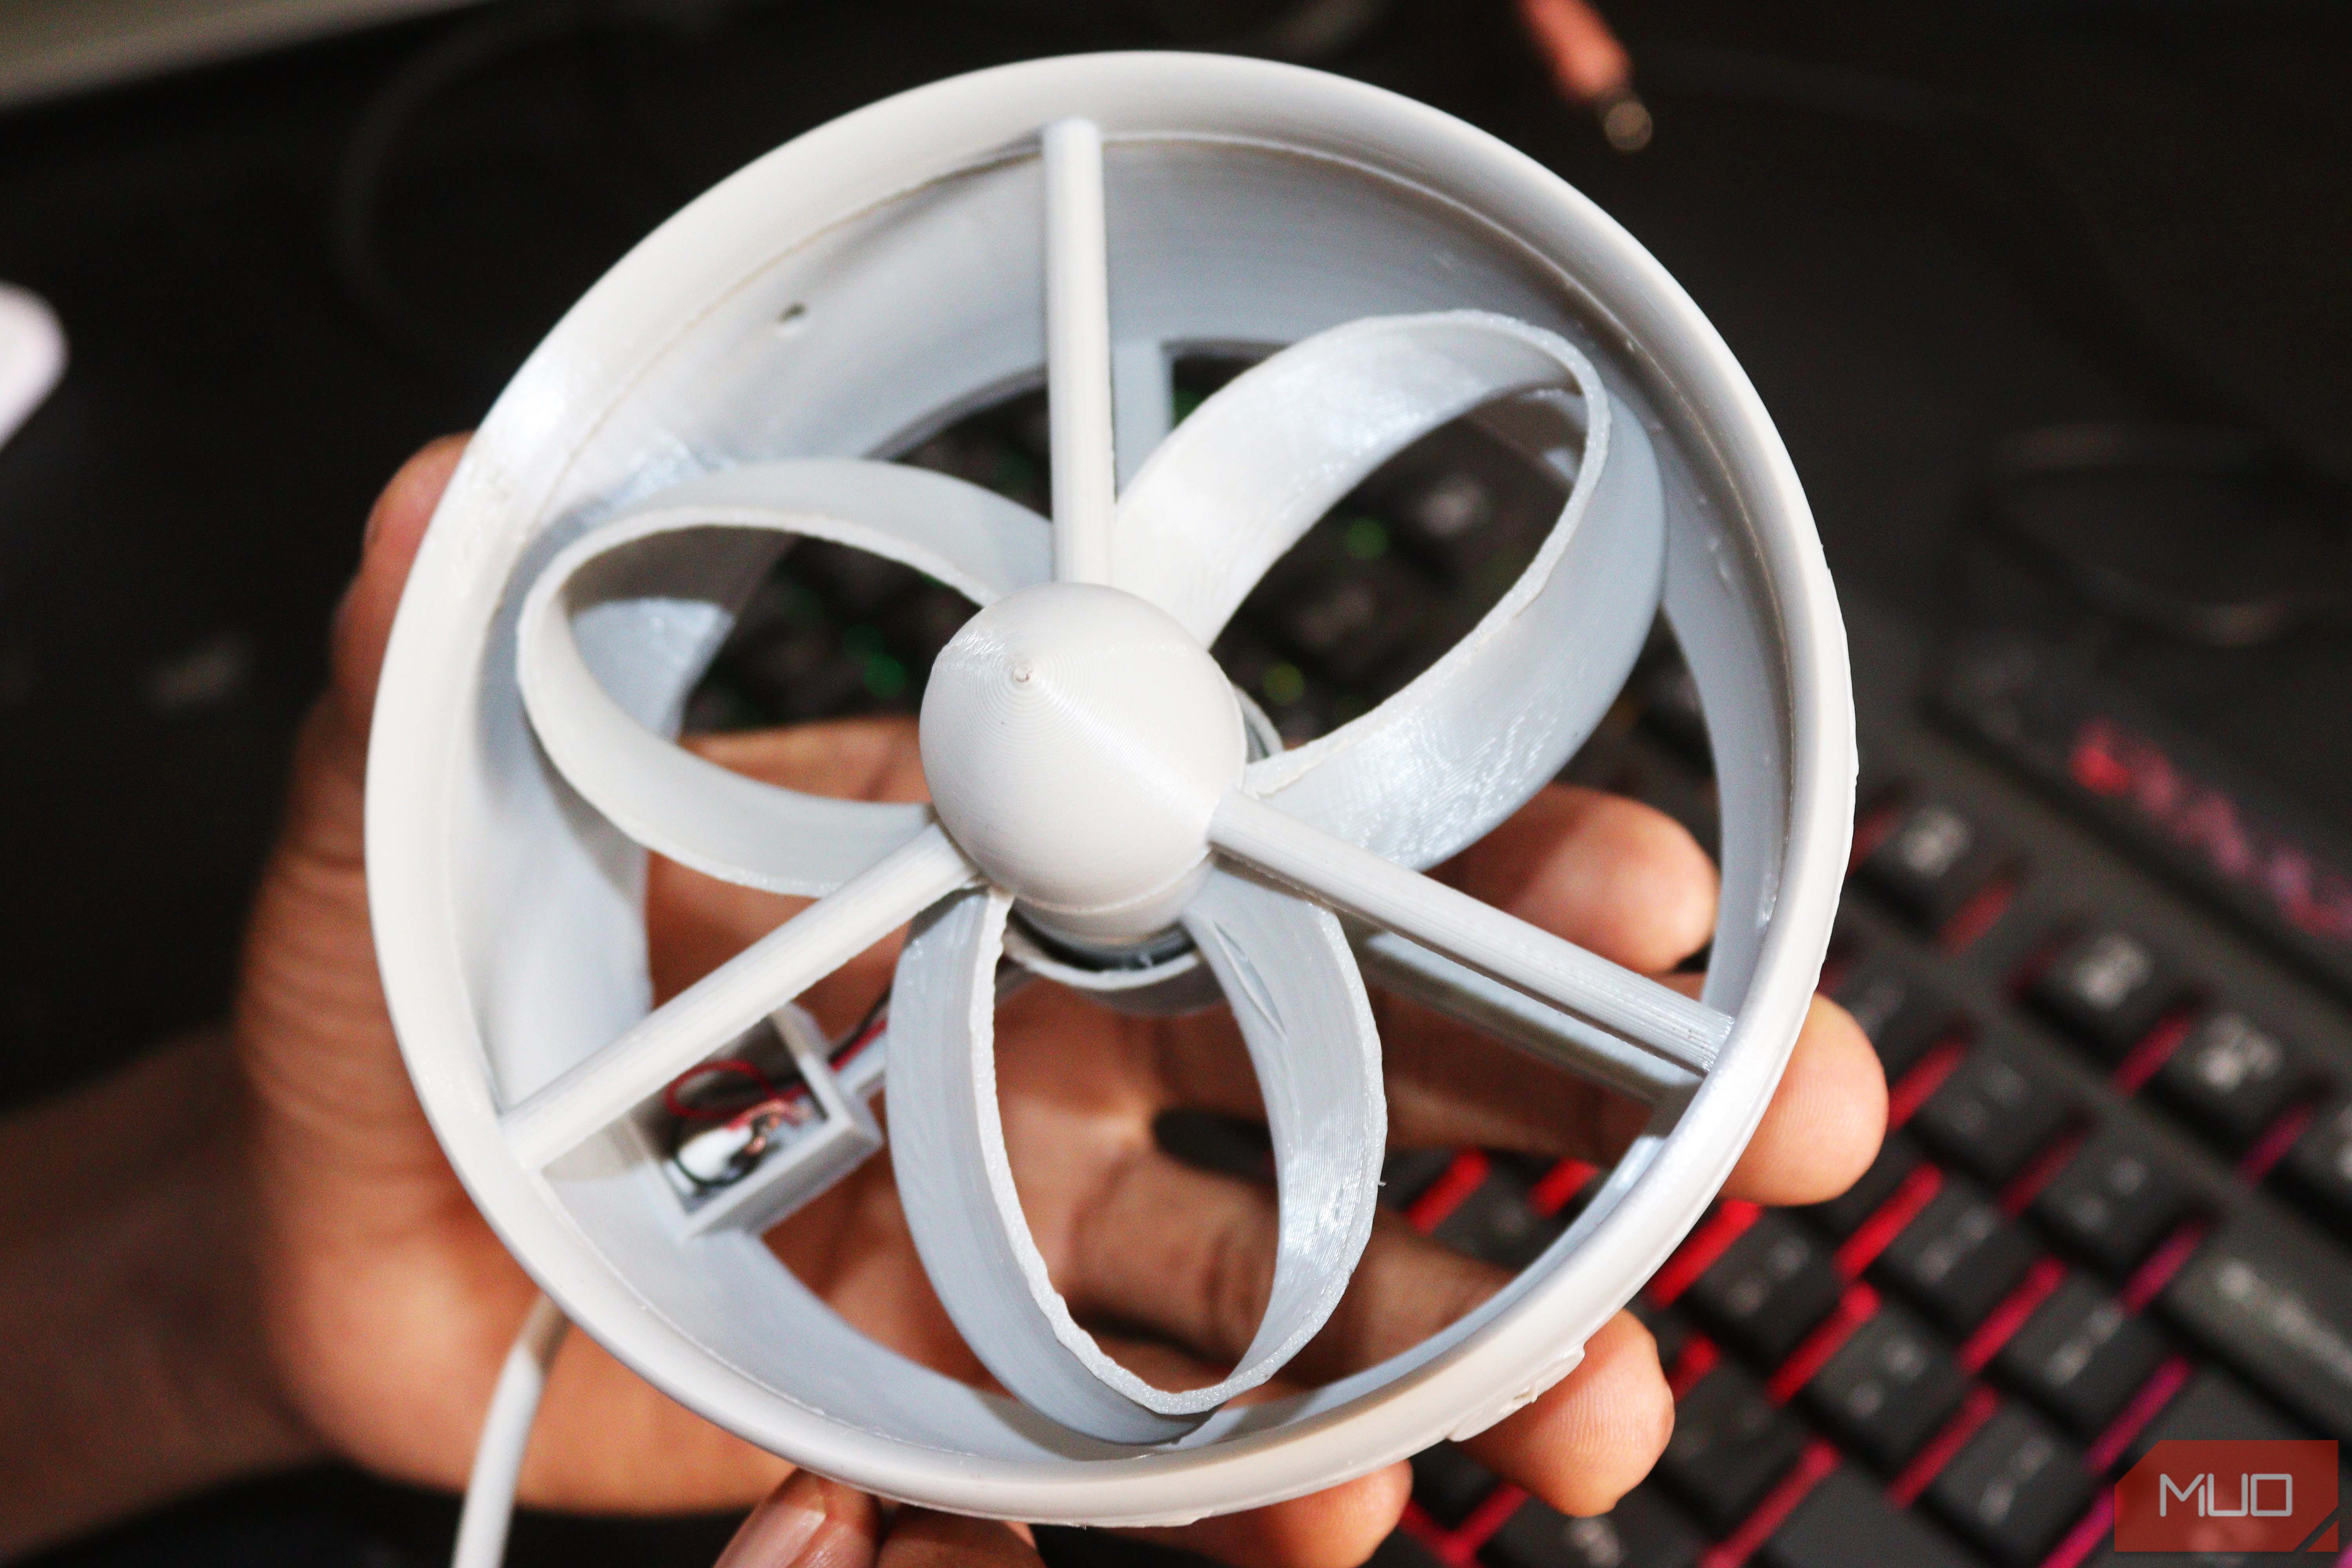
Insert the mini DC motor into the middle of the fan casing. The tip should be facing upwards as shown in the picture below.
Then, through the hole at the side of the casing, insert the motor wires.
Ensure you don’t pull them much, so they don’t disconnect from the motor. Insert the wires in the opening on the casing side until you see them in the connection box.
Step 3: Connect USB Cable to Motor
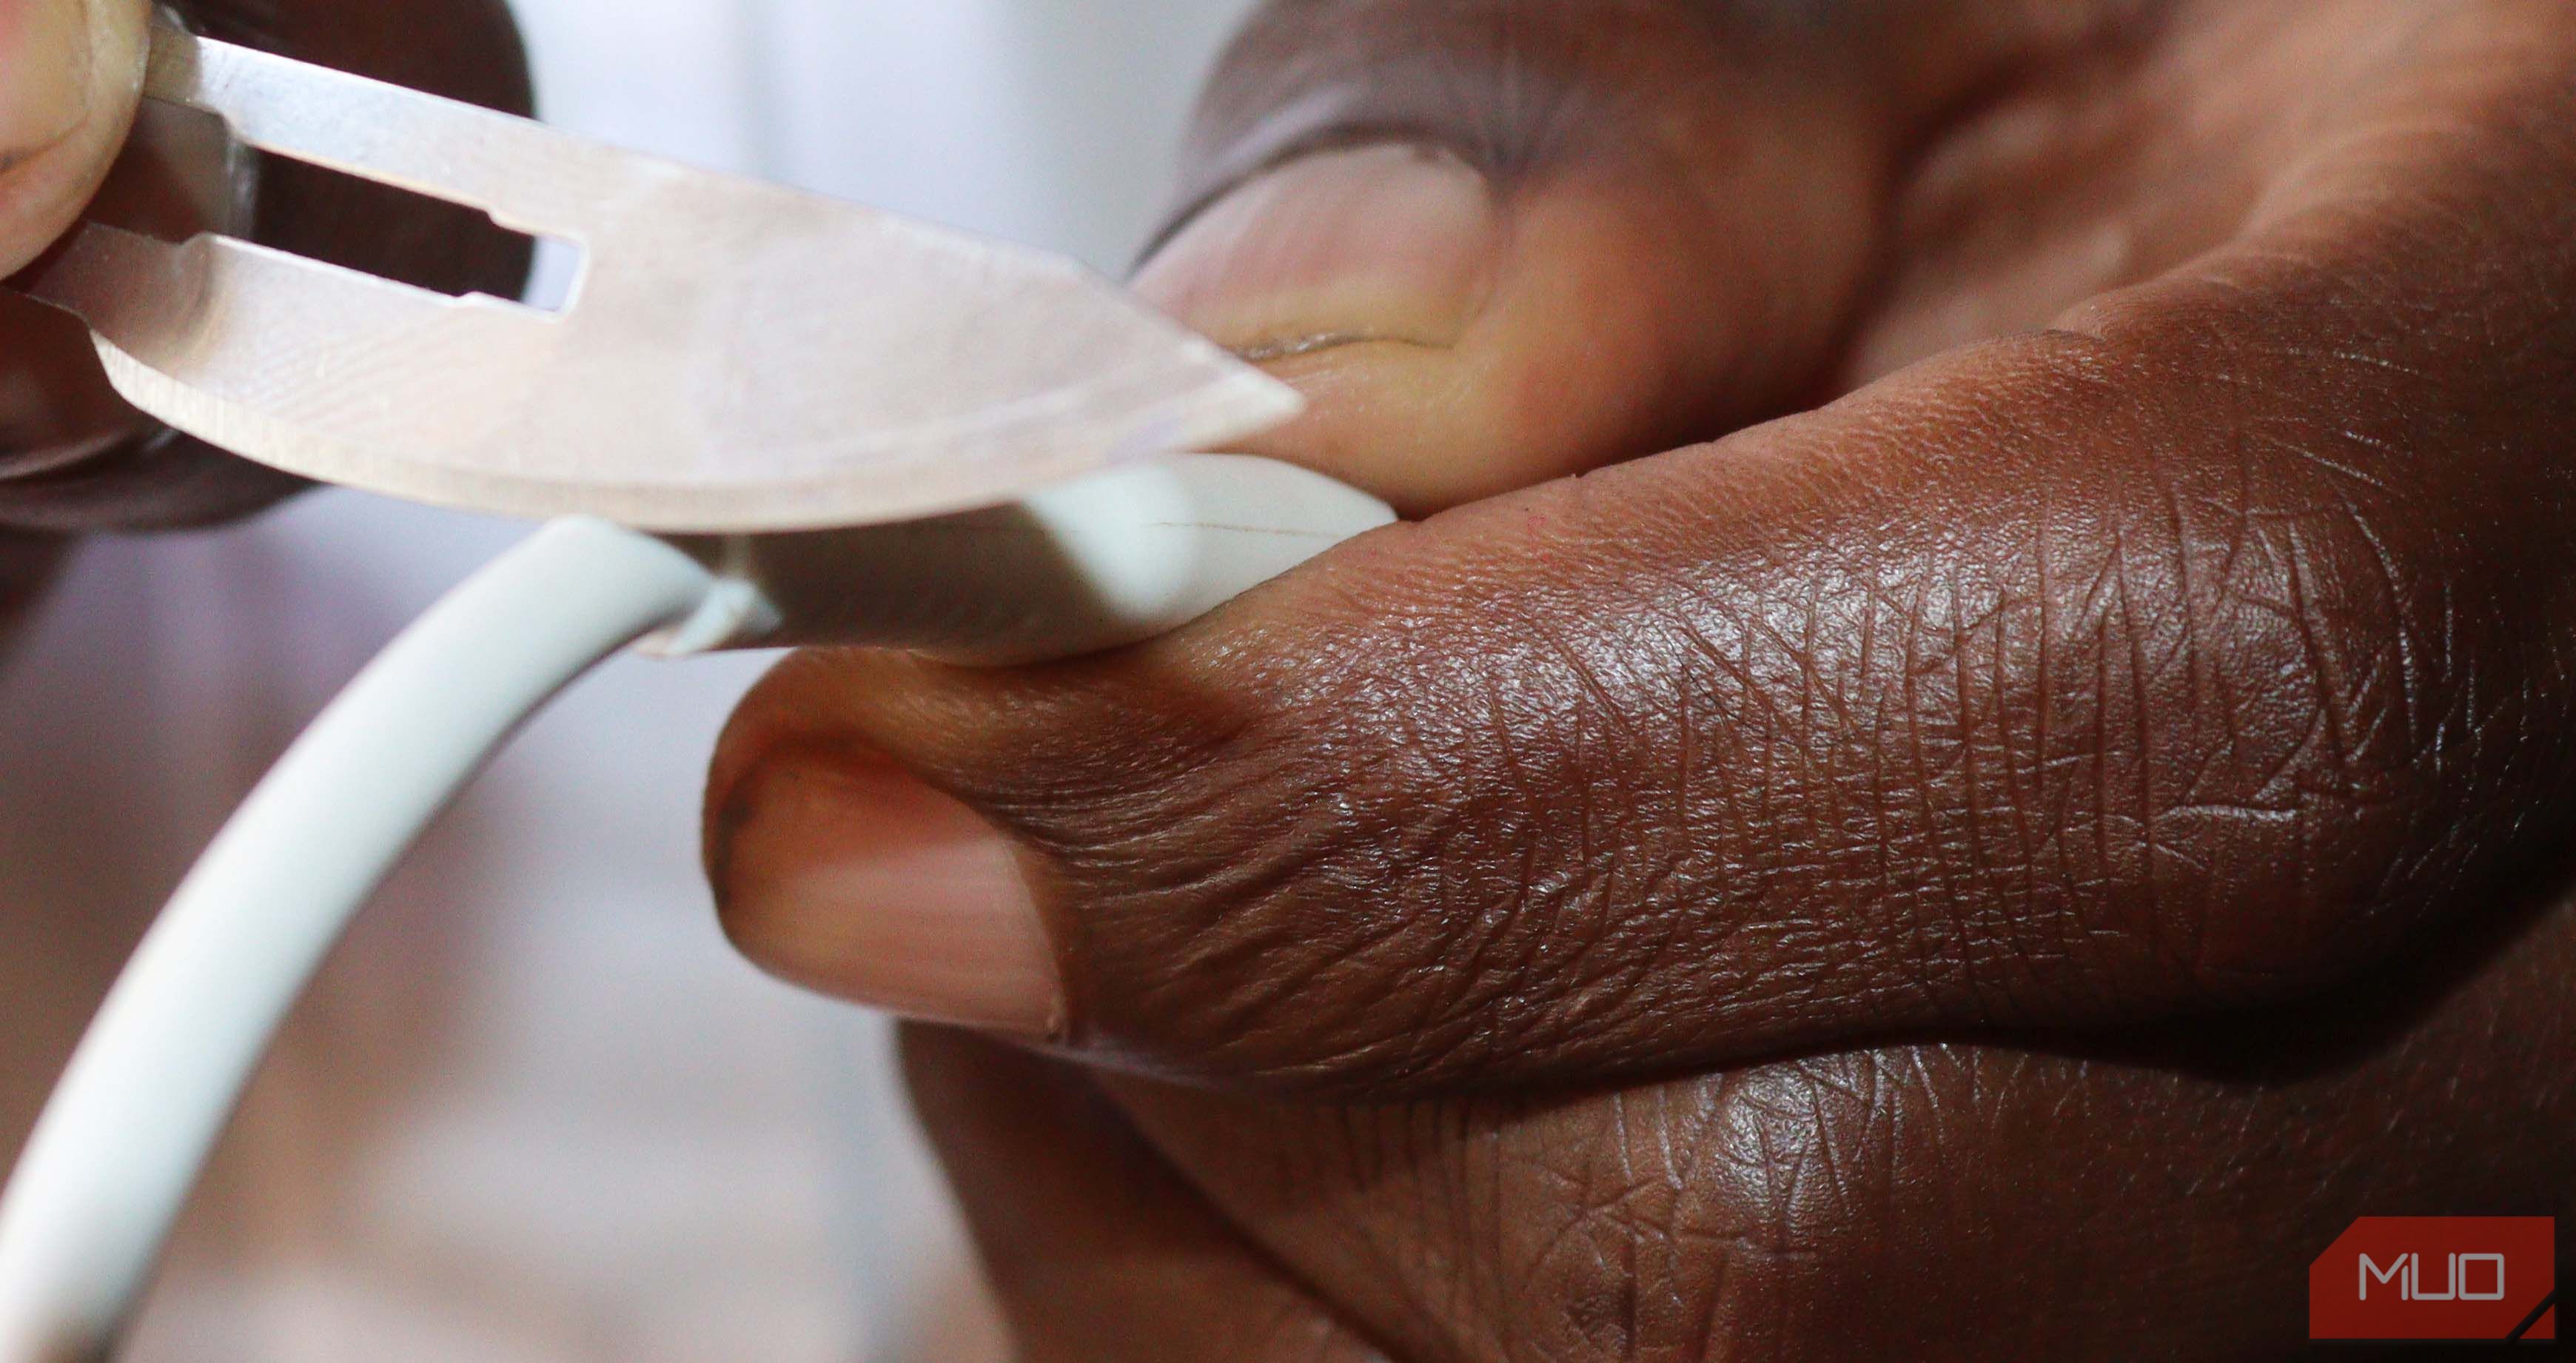
Cut the USB cable with a sharp scalpel or knife near the tip to reveal the wires.
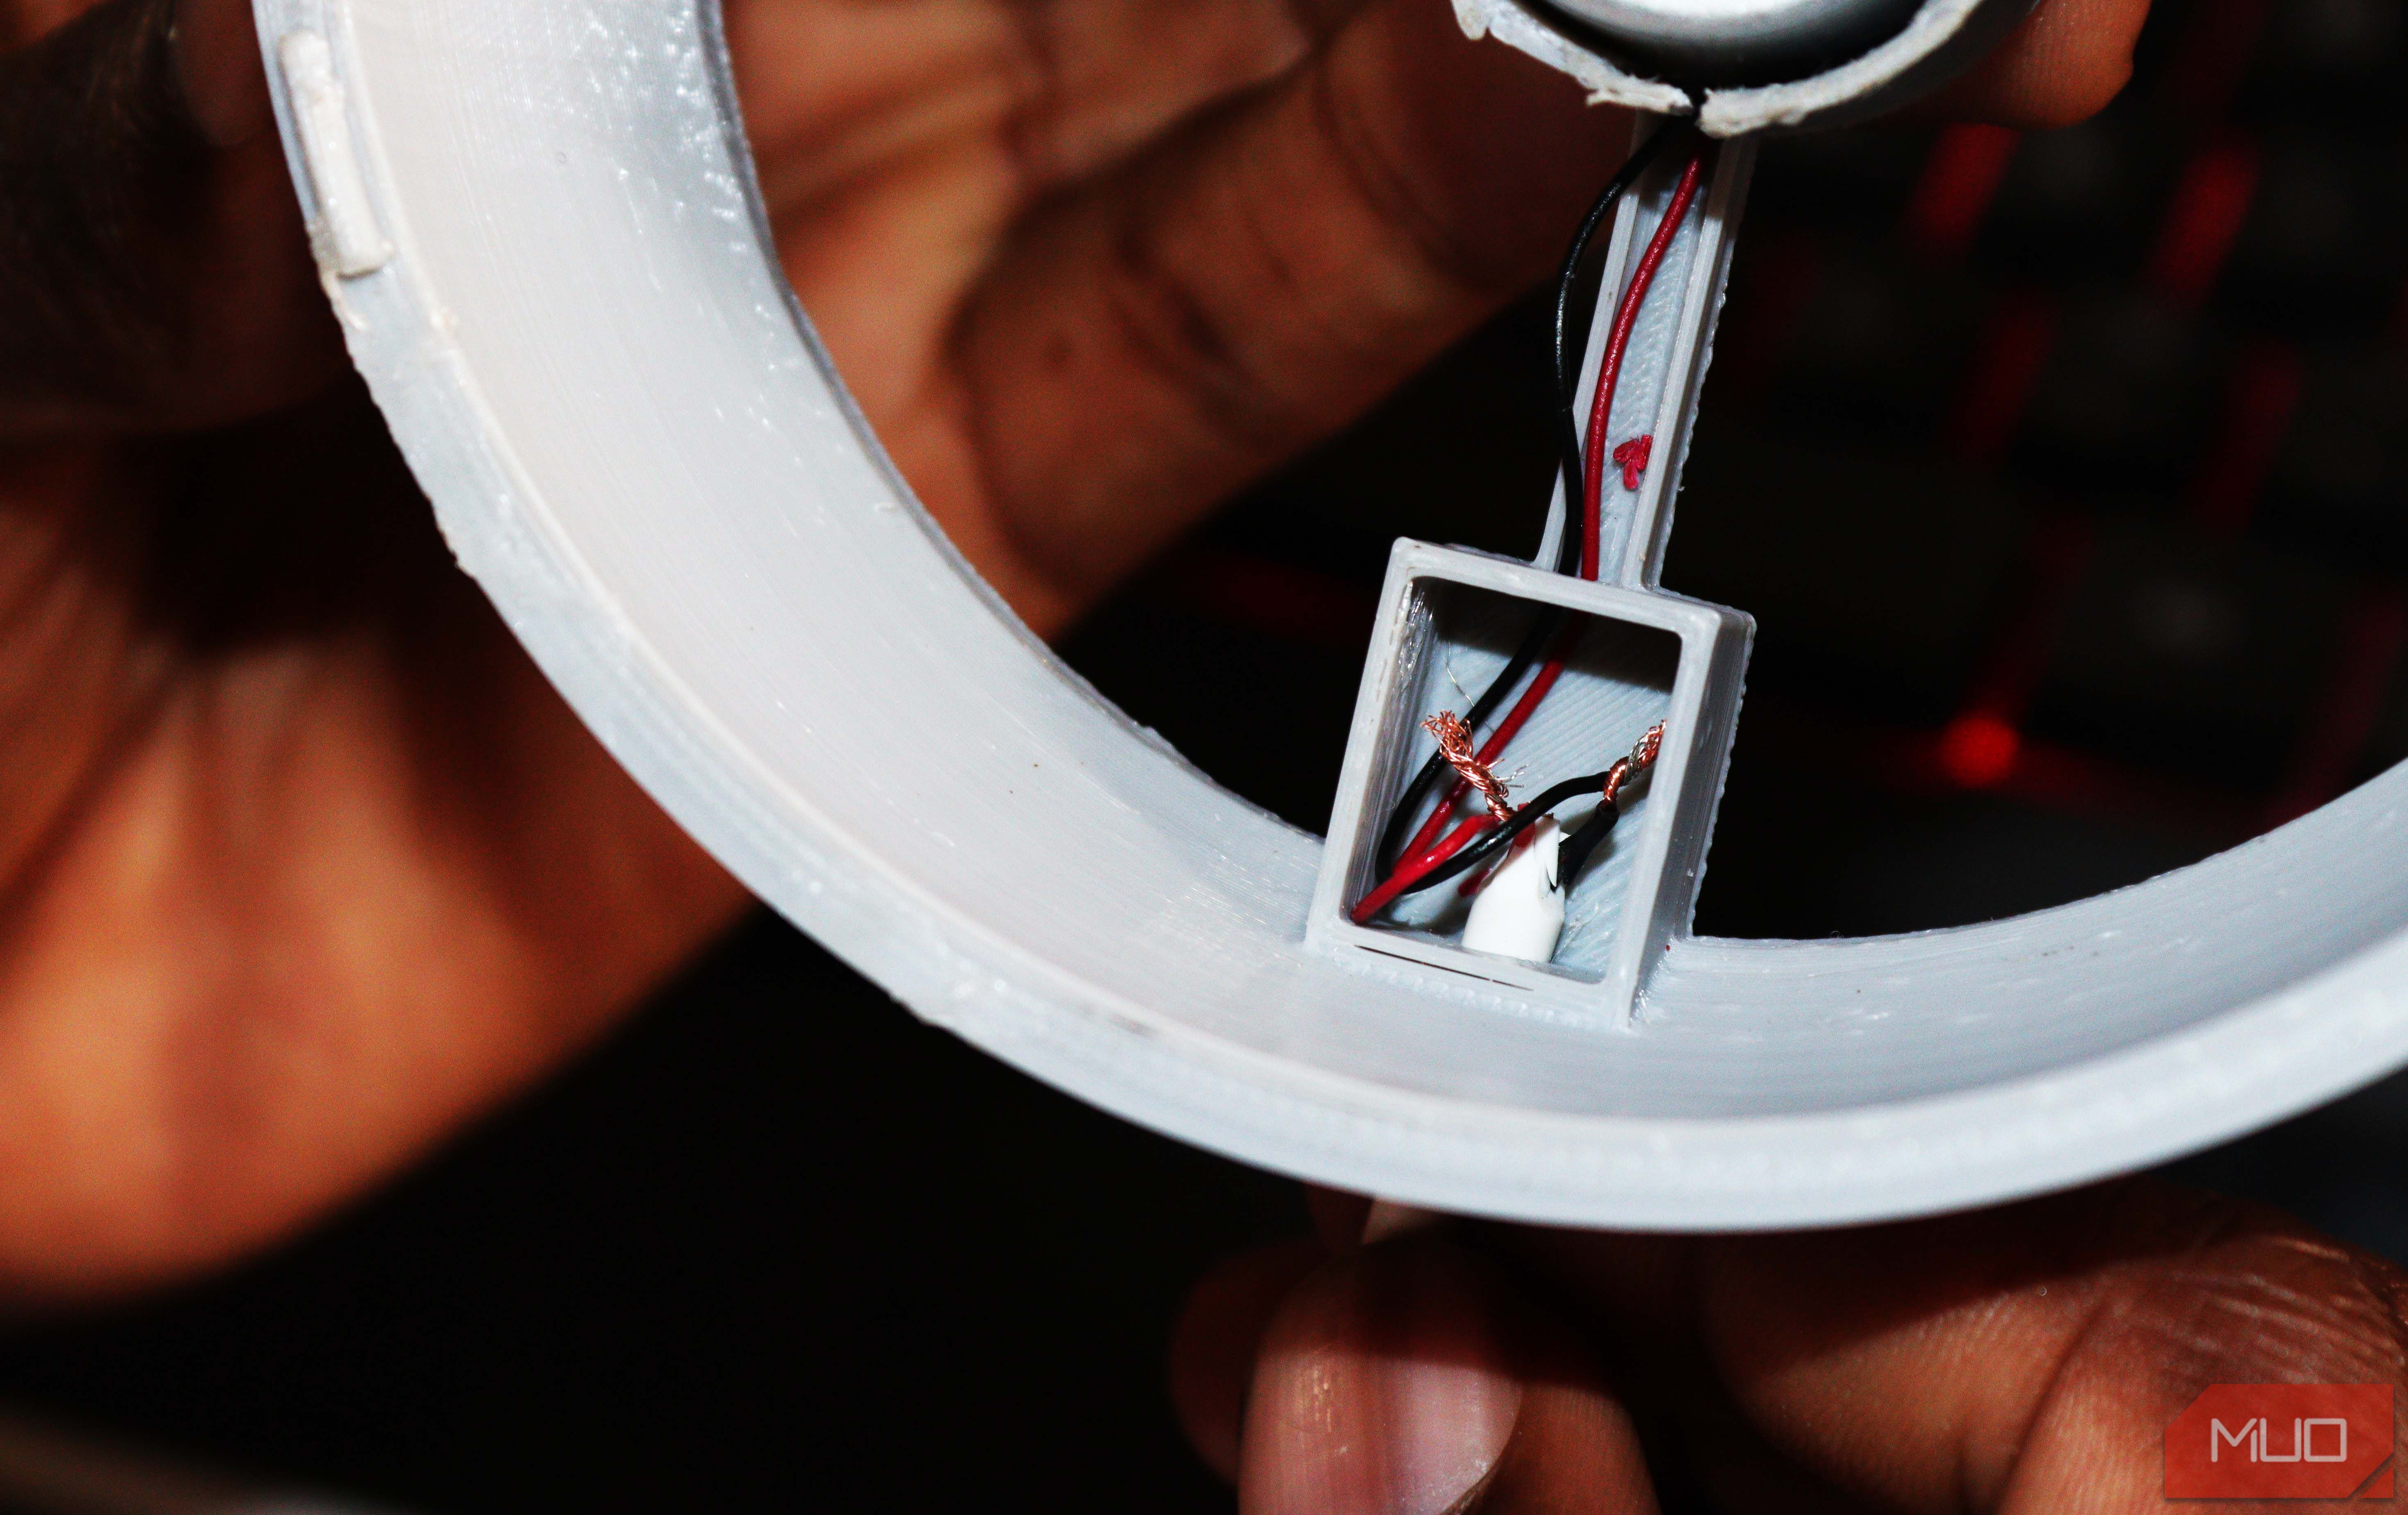
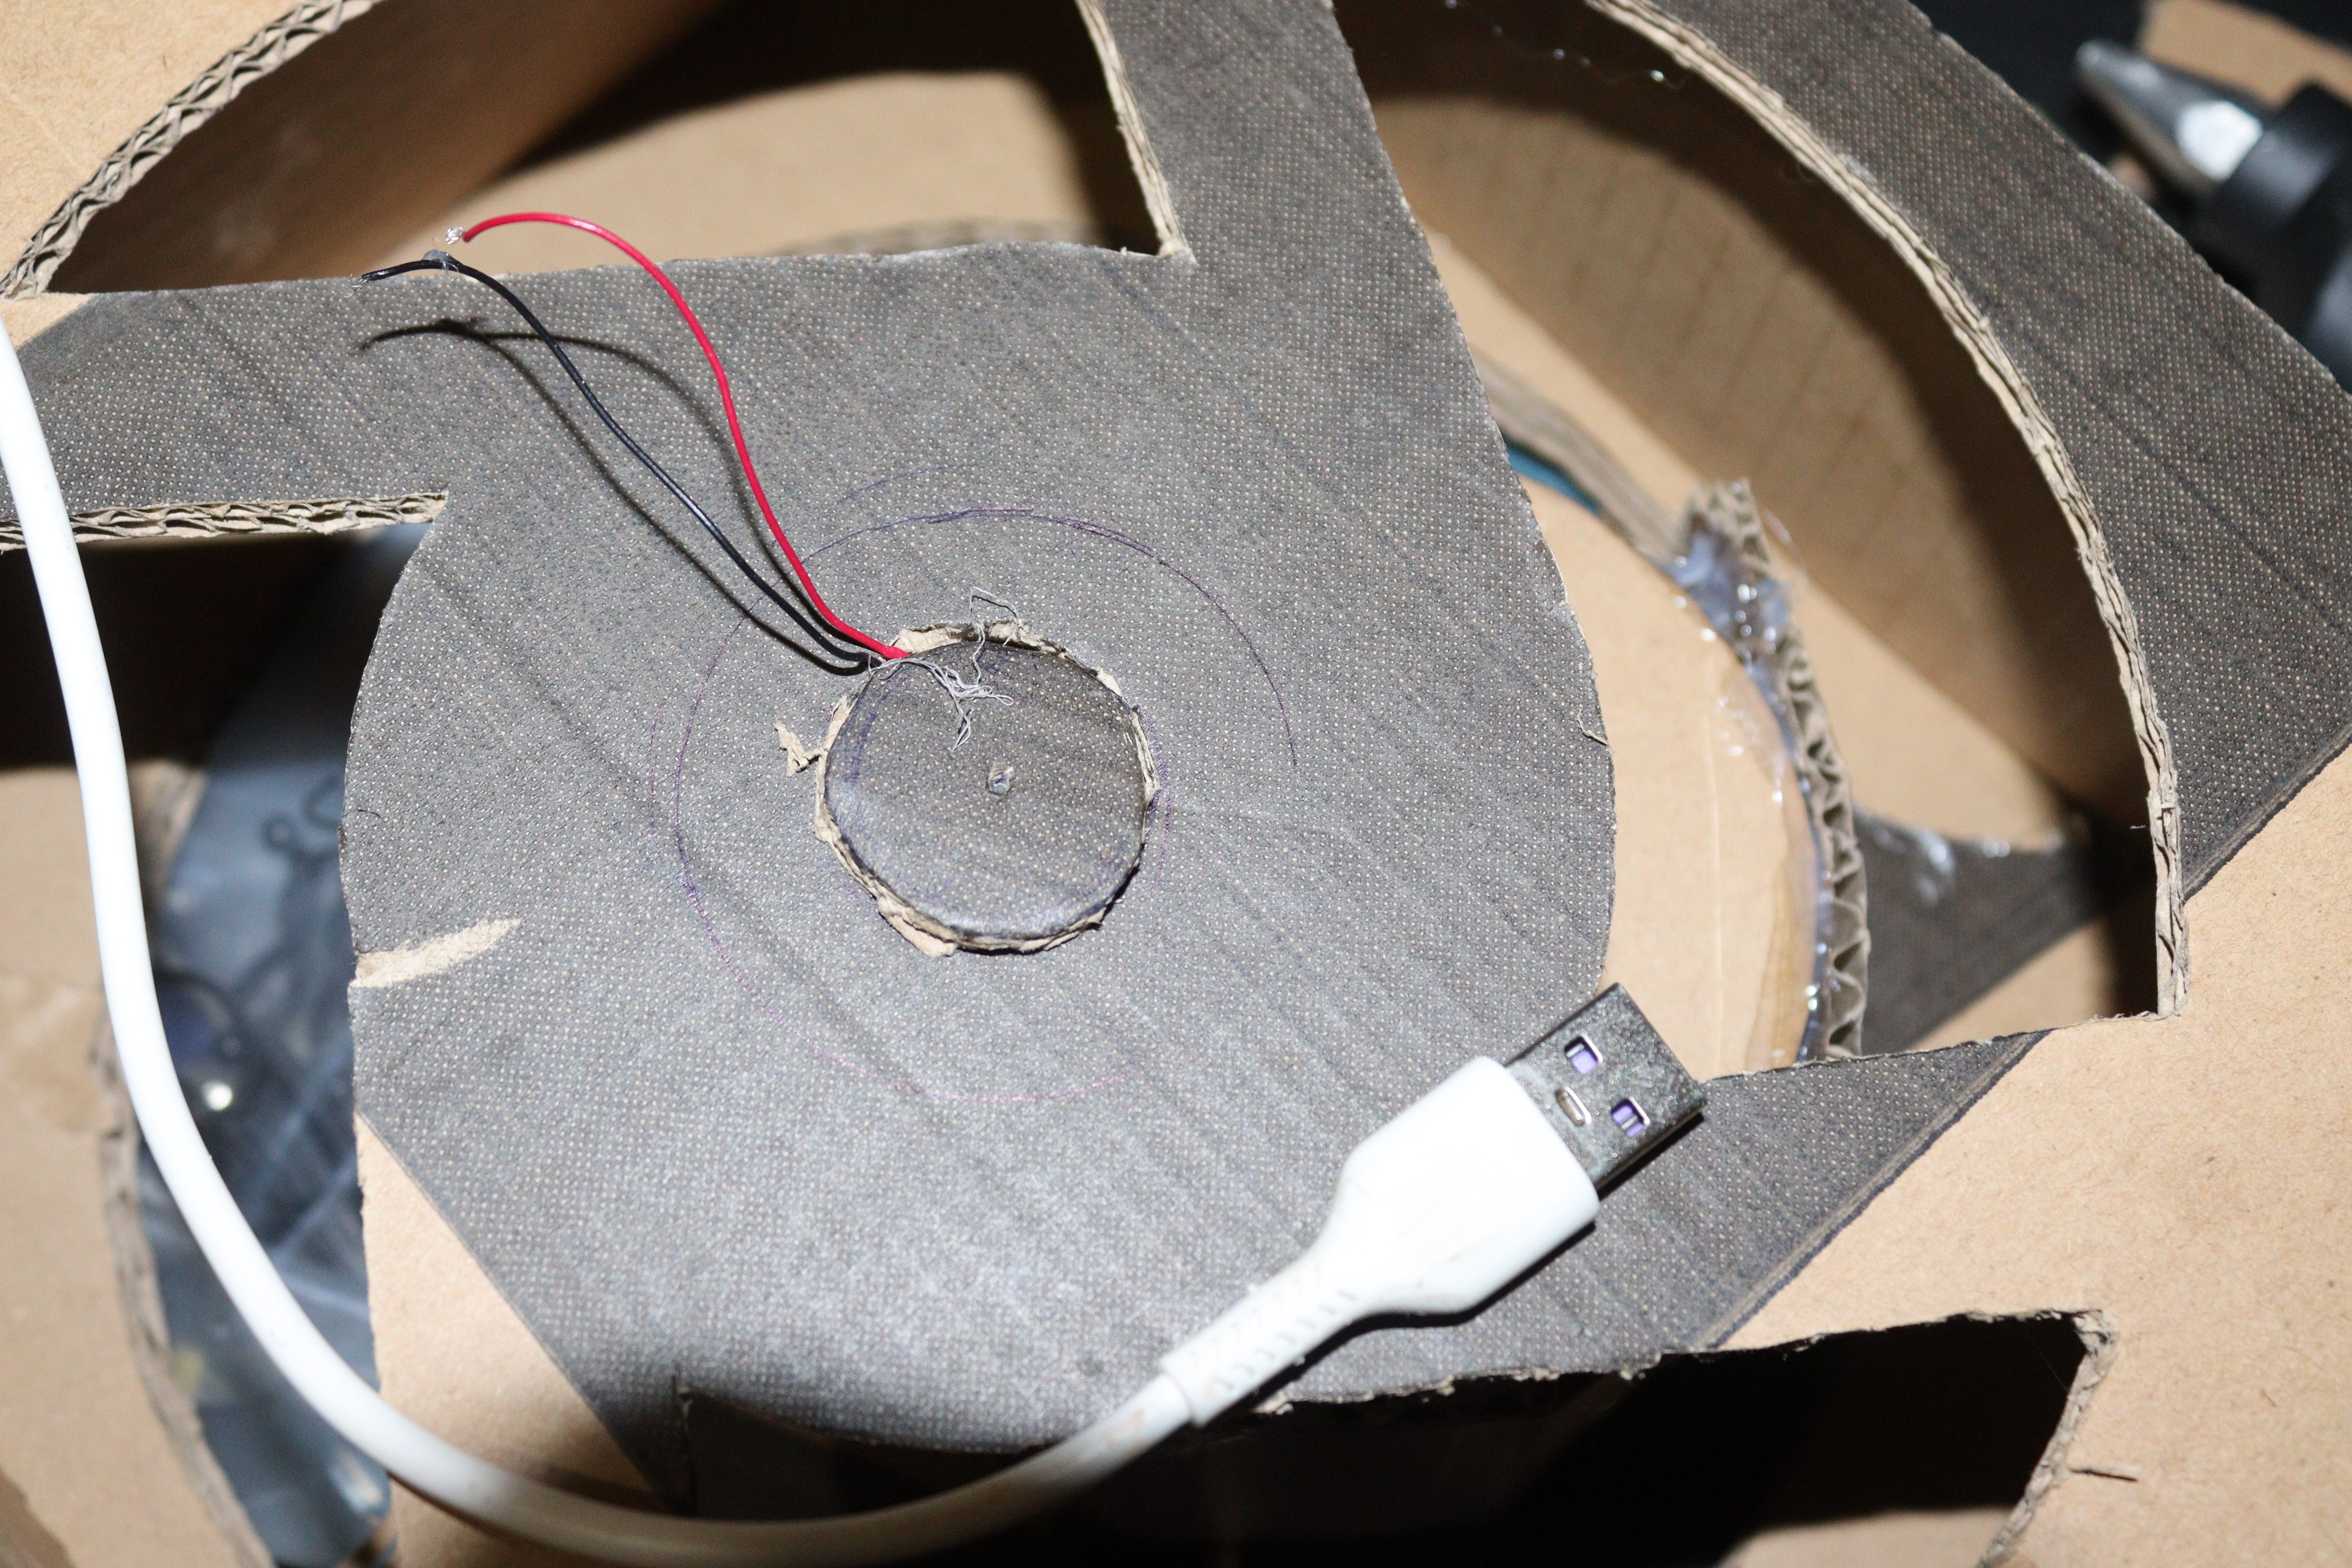
Connect the USB cable wires to the motor connections in the connection box located inside the fan casing.
Step 4: Attach the propeller to the motor
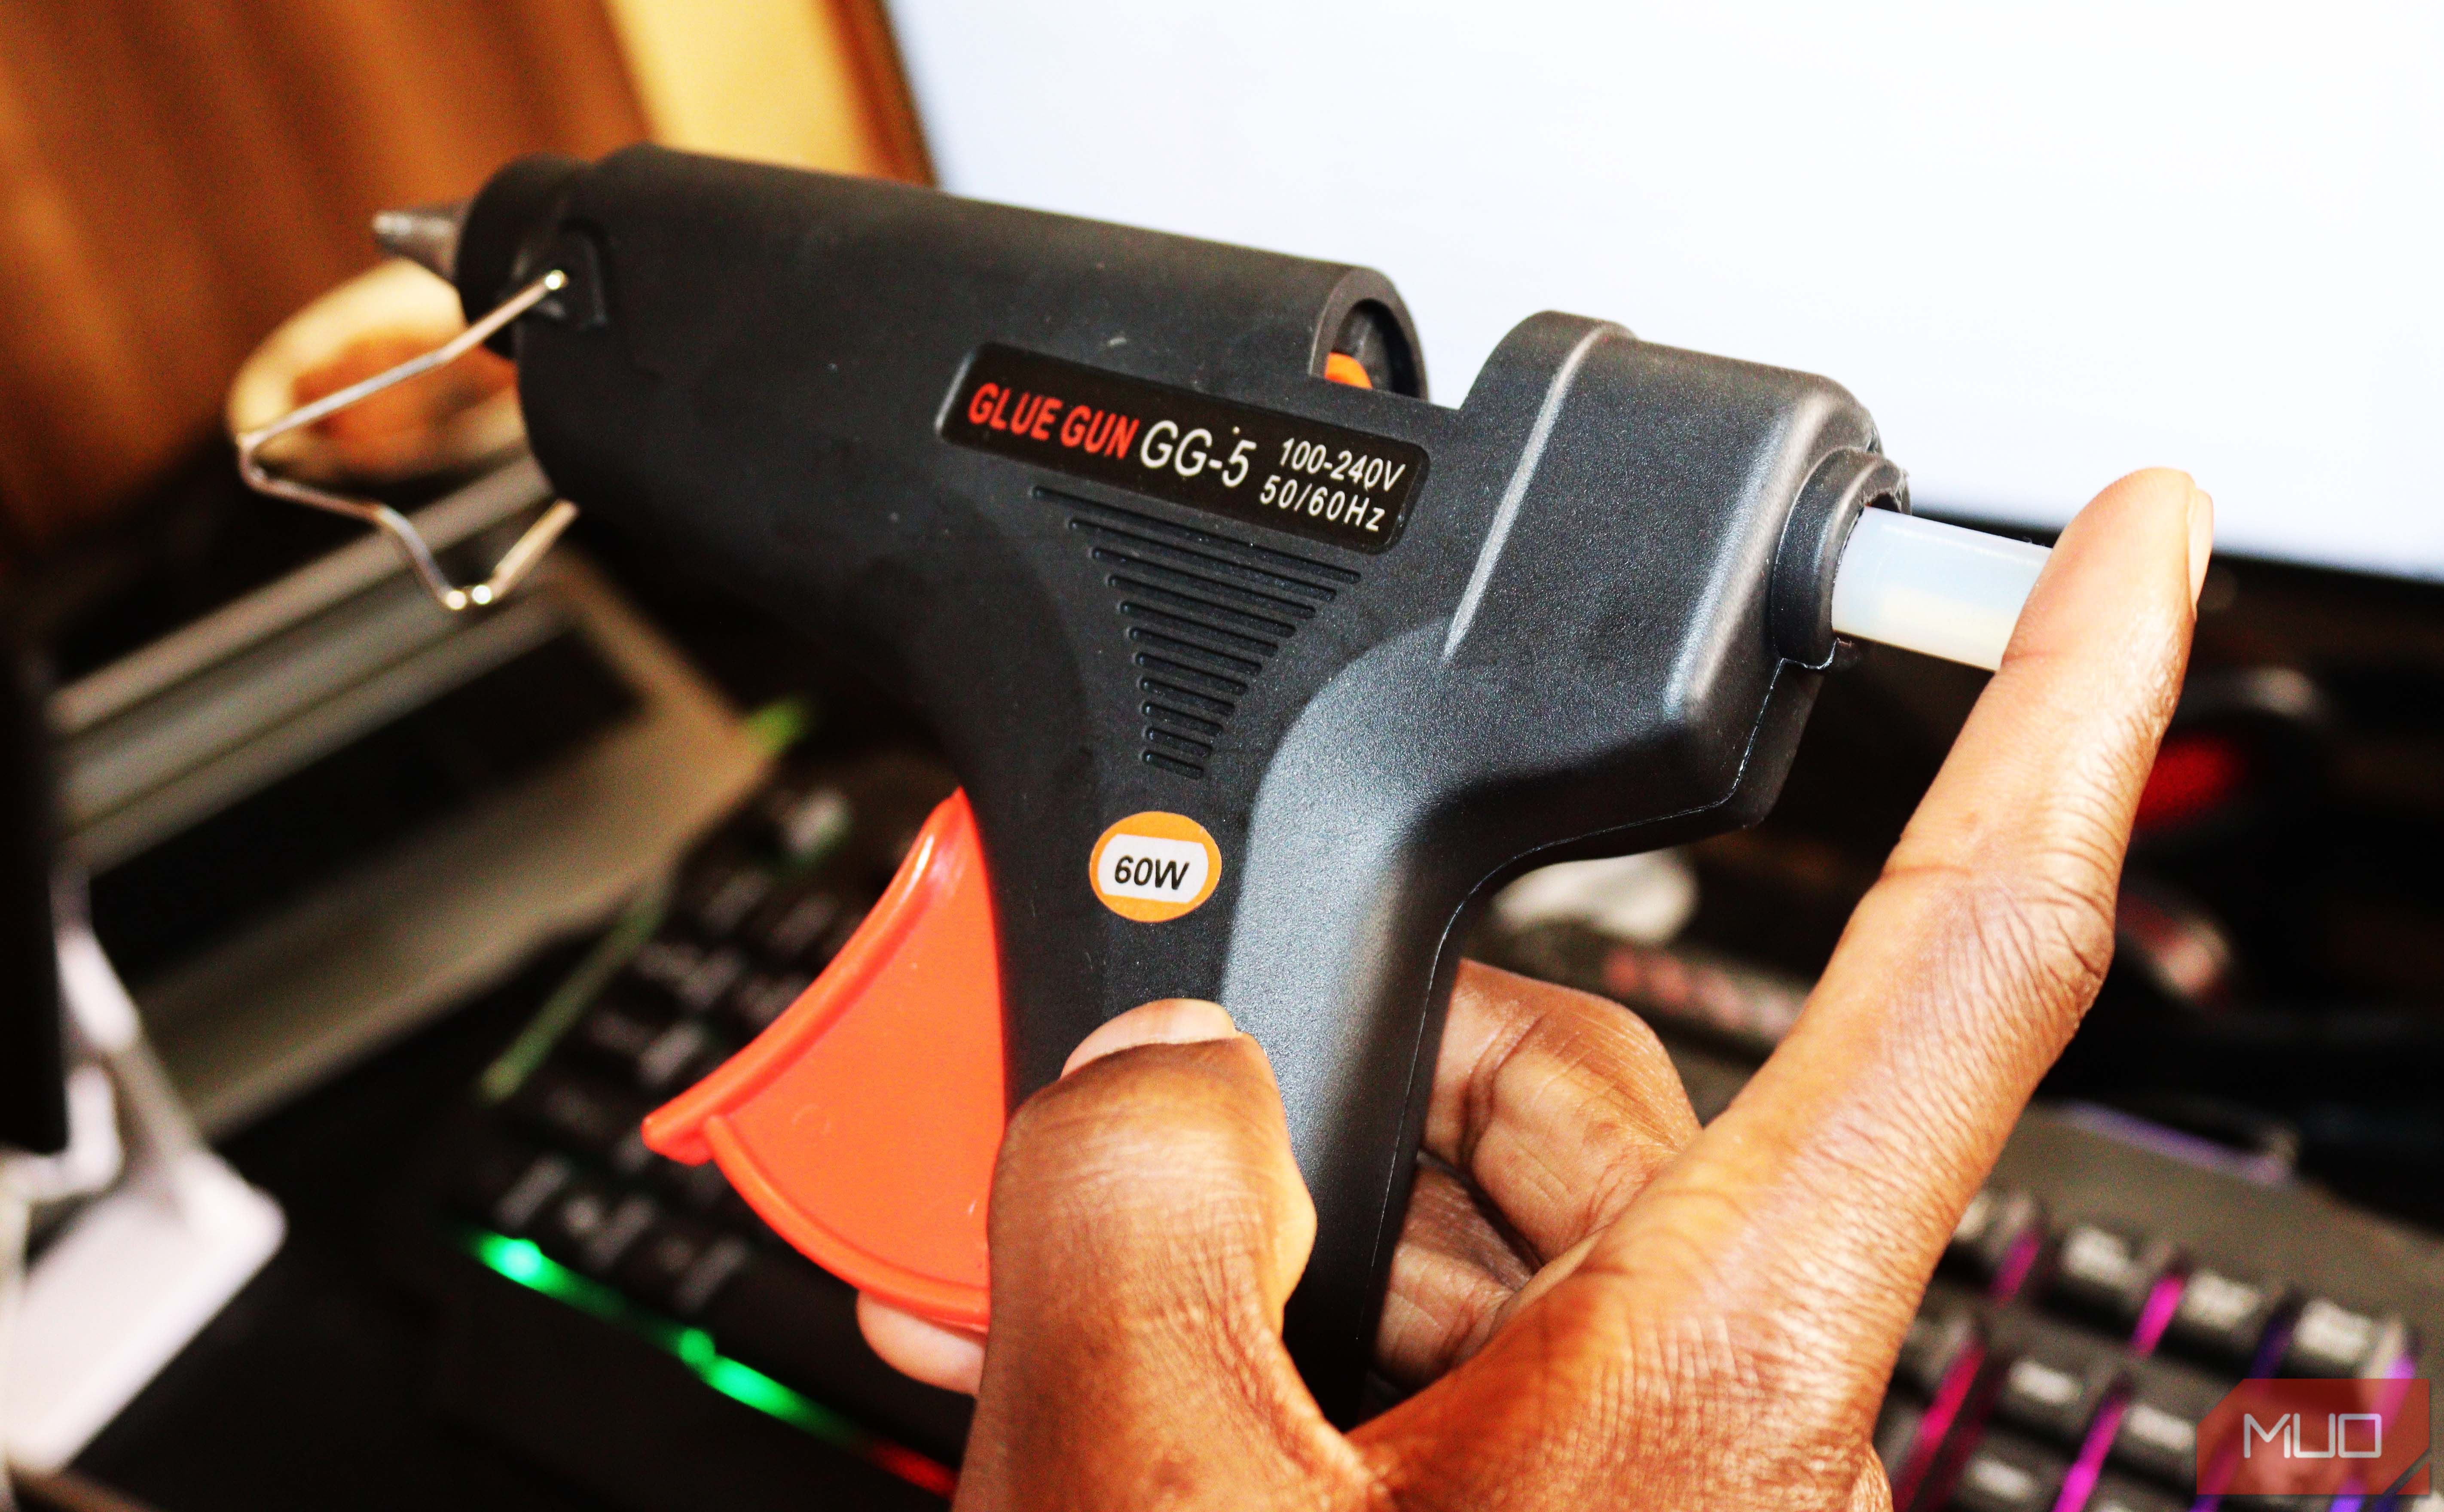
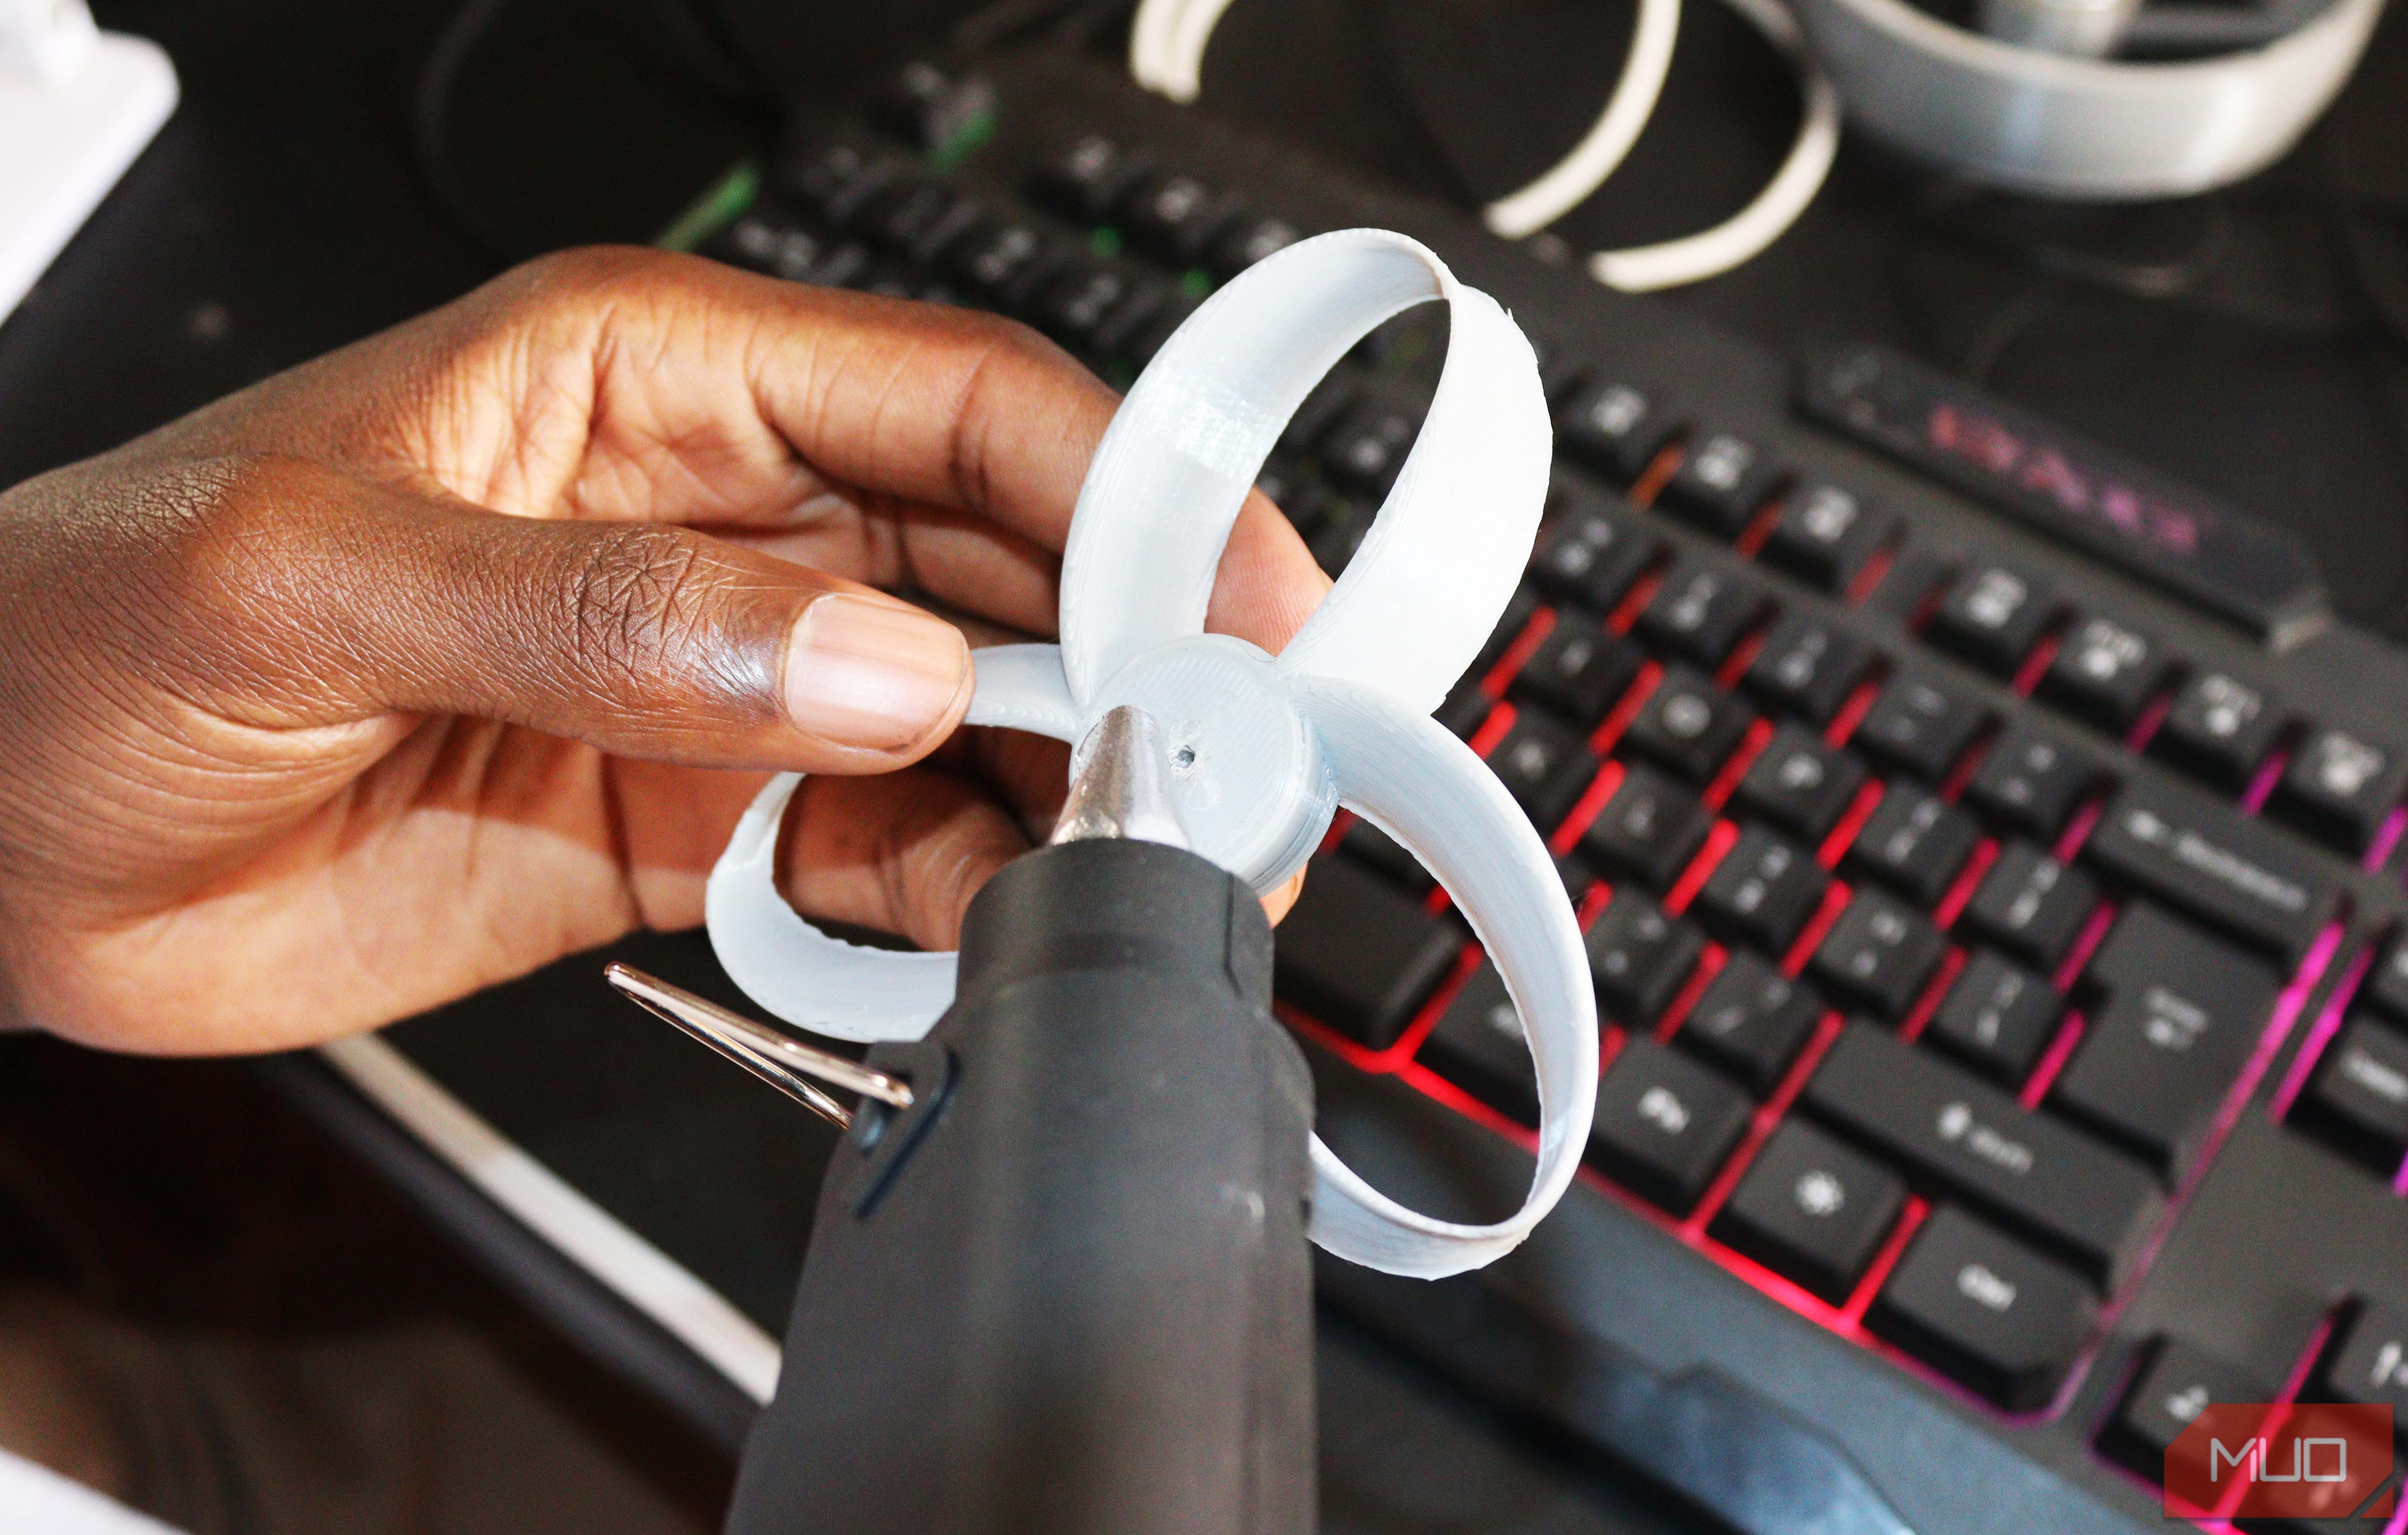
Place glue into the hole to hold the propeller tightly. Hot glue guns can be powered by a gluestick.
Once the glue gun has been heated for a couple of minutes, you can point it at the propeller hole and apply the adhesive.
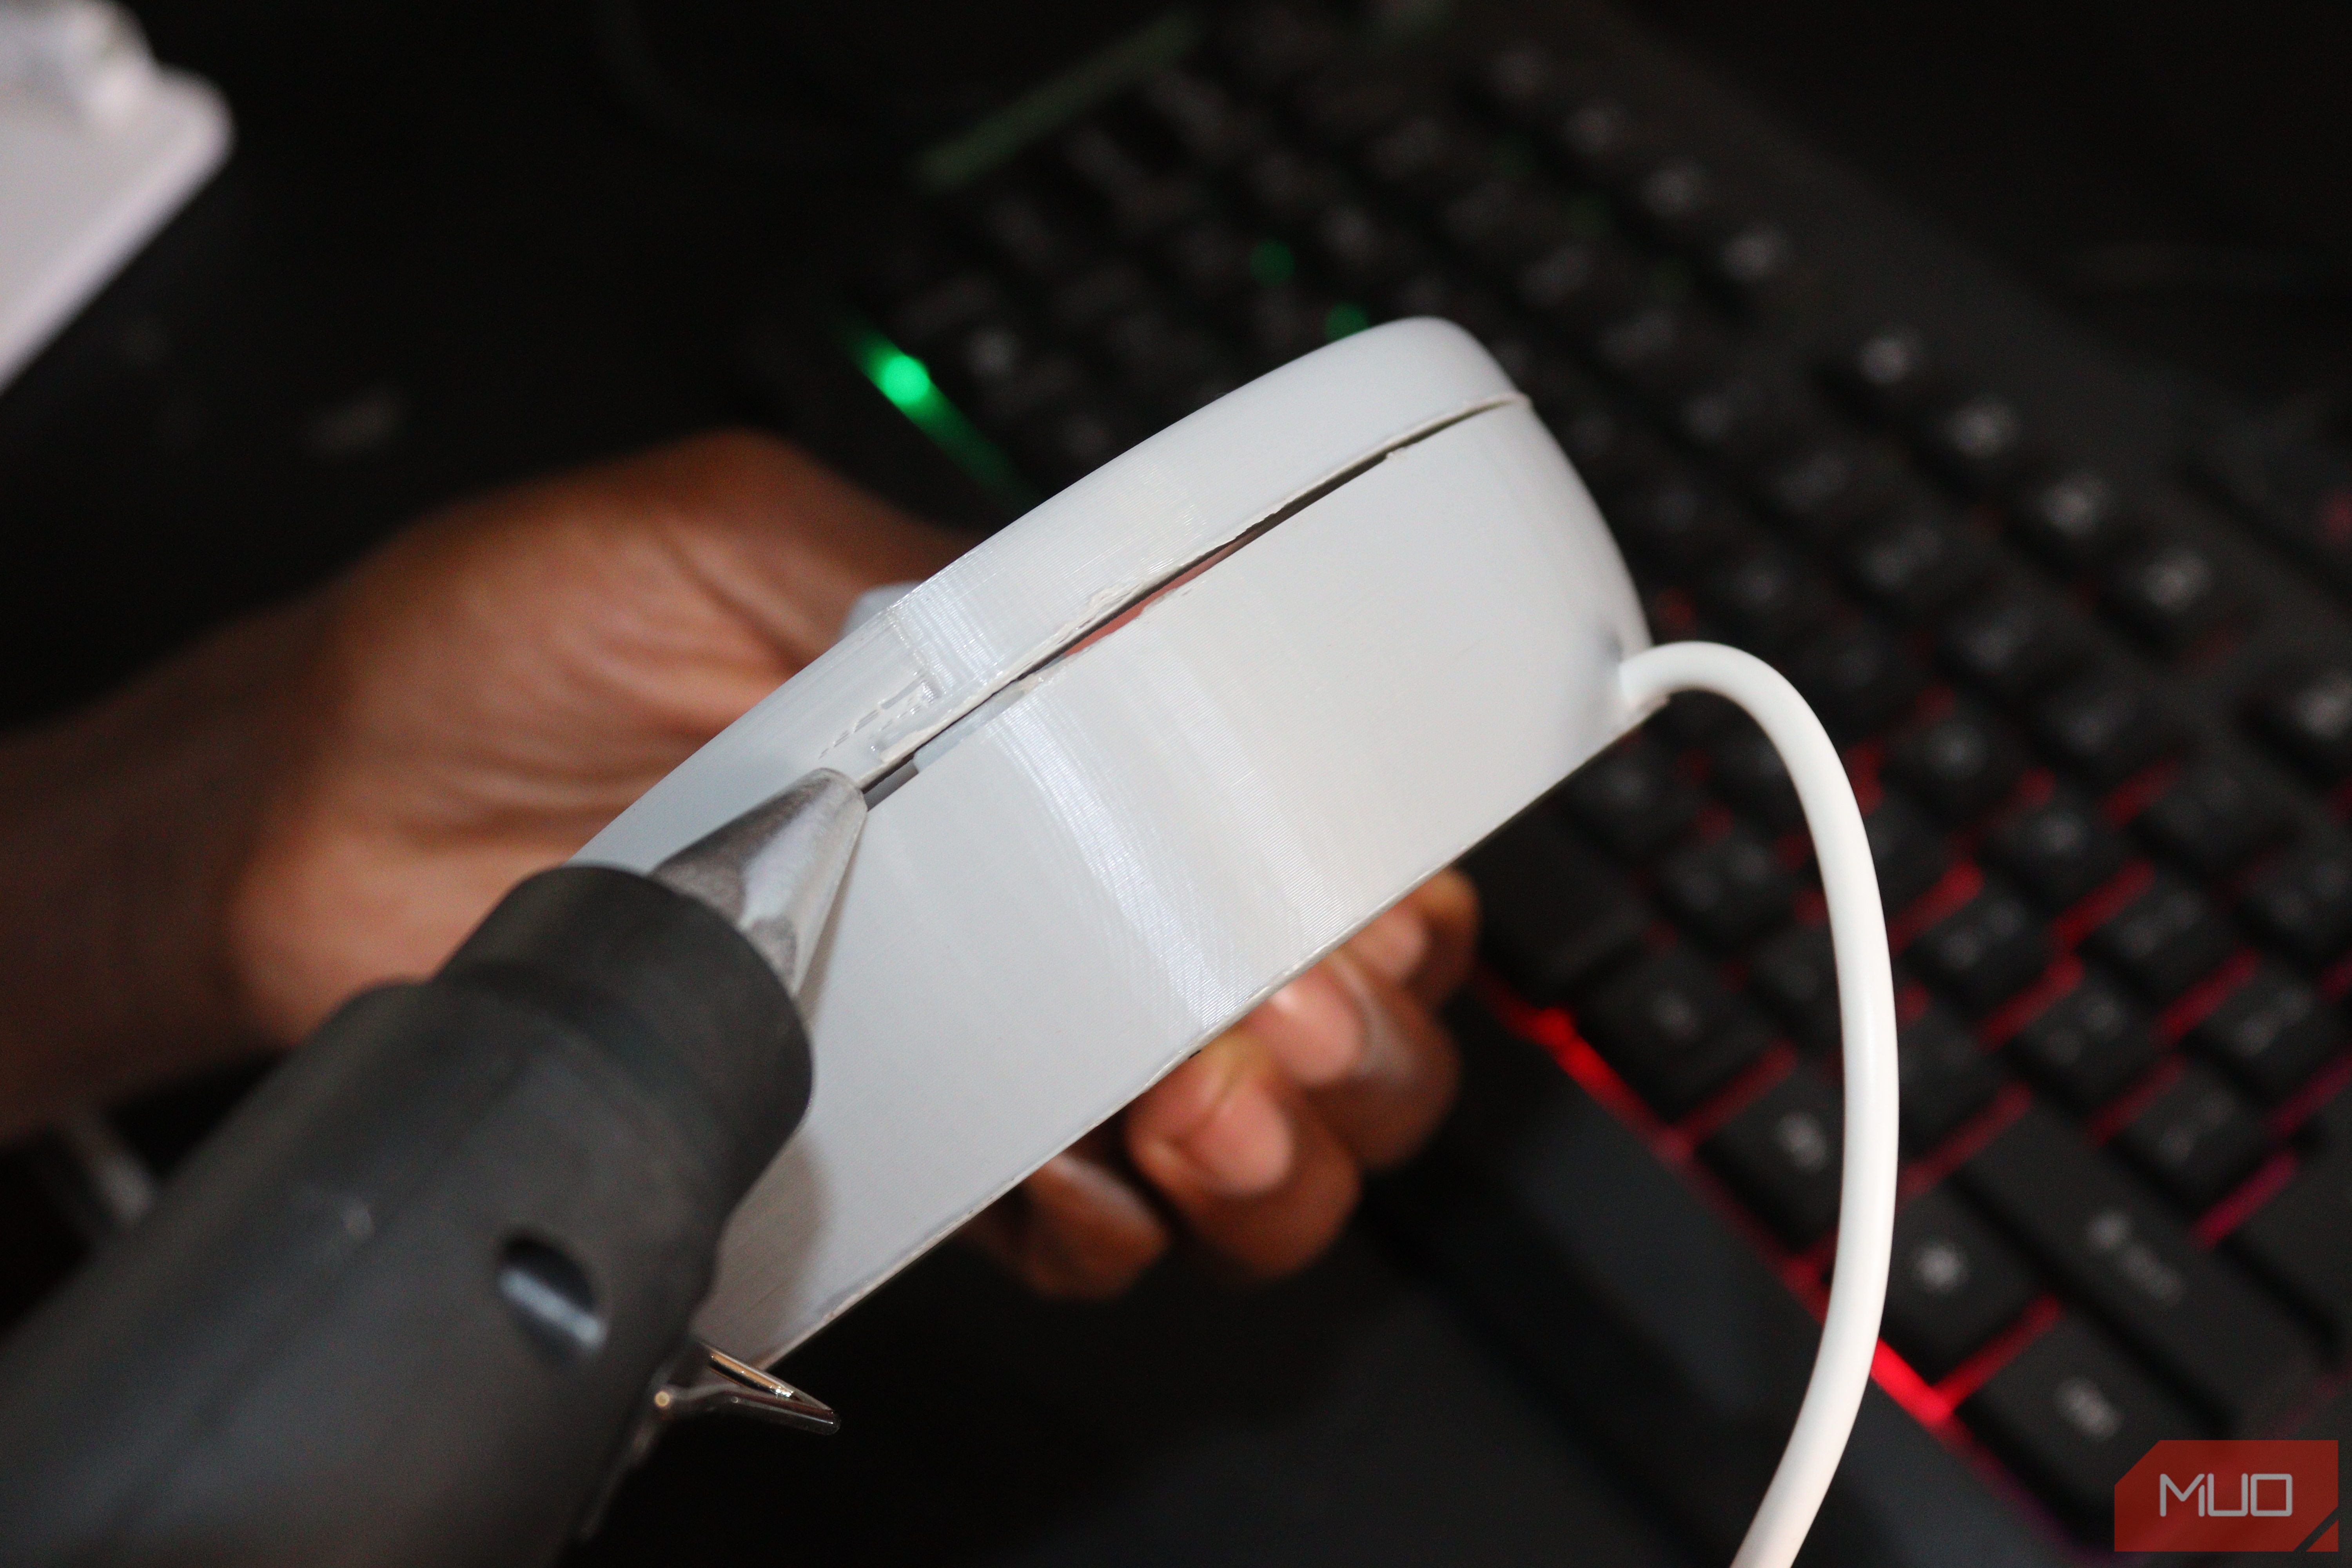
The propeller can be inserted into the motor after a short wait. It should be free to rotate. After that, attach the upper case as shown below.
Use the glue gun on the sides to ensure that the glue sticks firmly.
Attach the stand to the fan
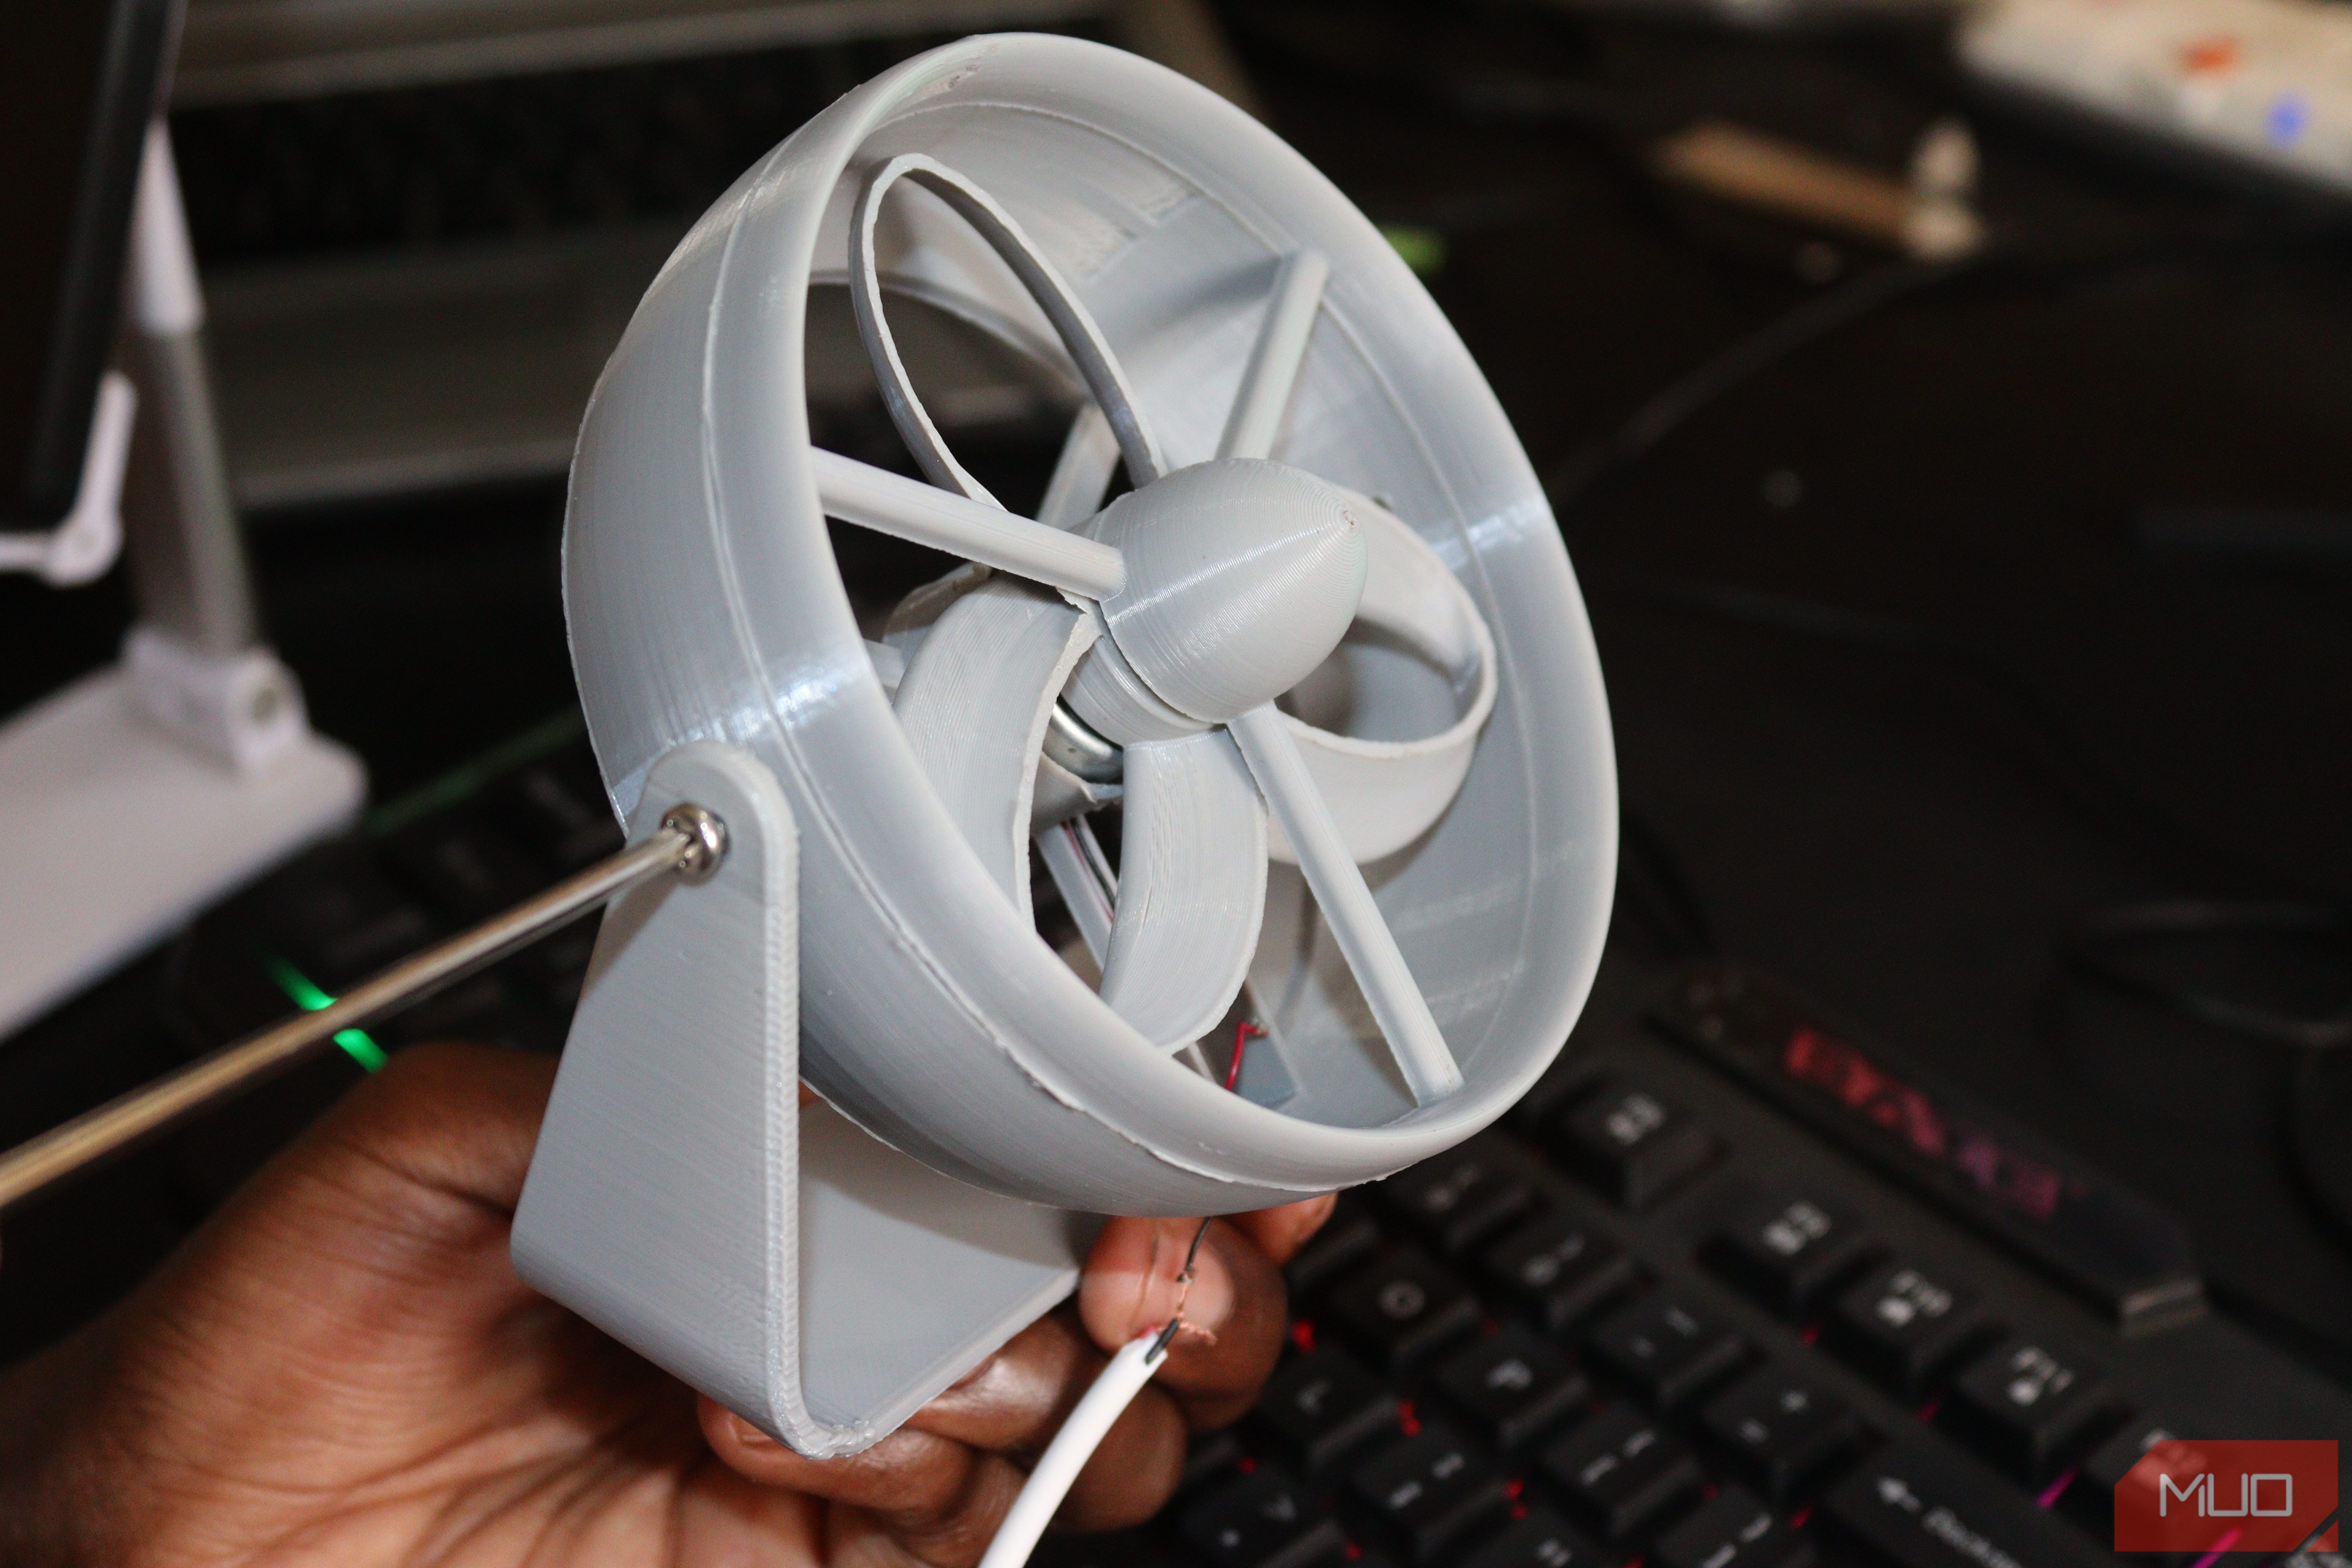
Two M3 screws are required to attach the stand and the fan. After you’ve placed the screws, tighten them with a screwdriver.
As you do so, ensure you don’t use much force, otherwise it may break the handle or the fan’s casing. Connecting the USB cable with the power supply is the final step. Now you have successfully created a desktop fan with 3D printing.
Cardboard Desktop Fans: How to Make One
You can create the different parts of the fan using cardboard instead of 3D printed parts. The same electrical components as highlighted above will be used. Begin by following the steps below.
Cardboard can be cut to size by measuring and cutting it.
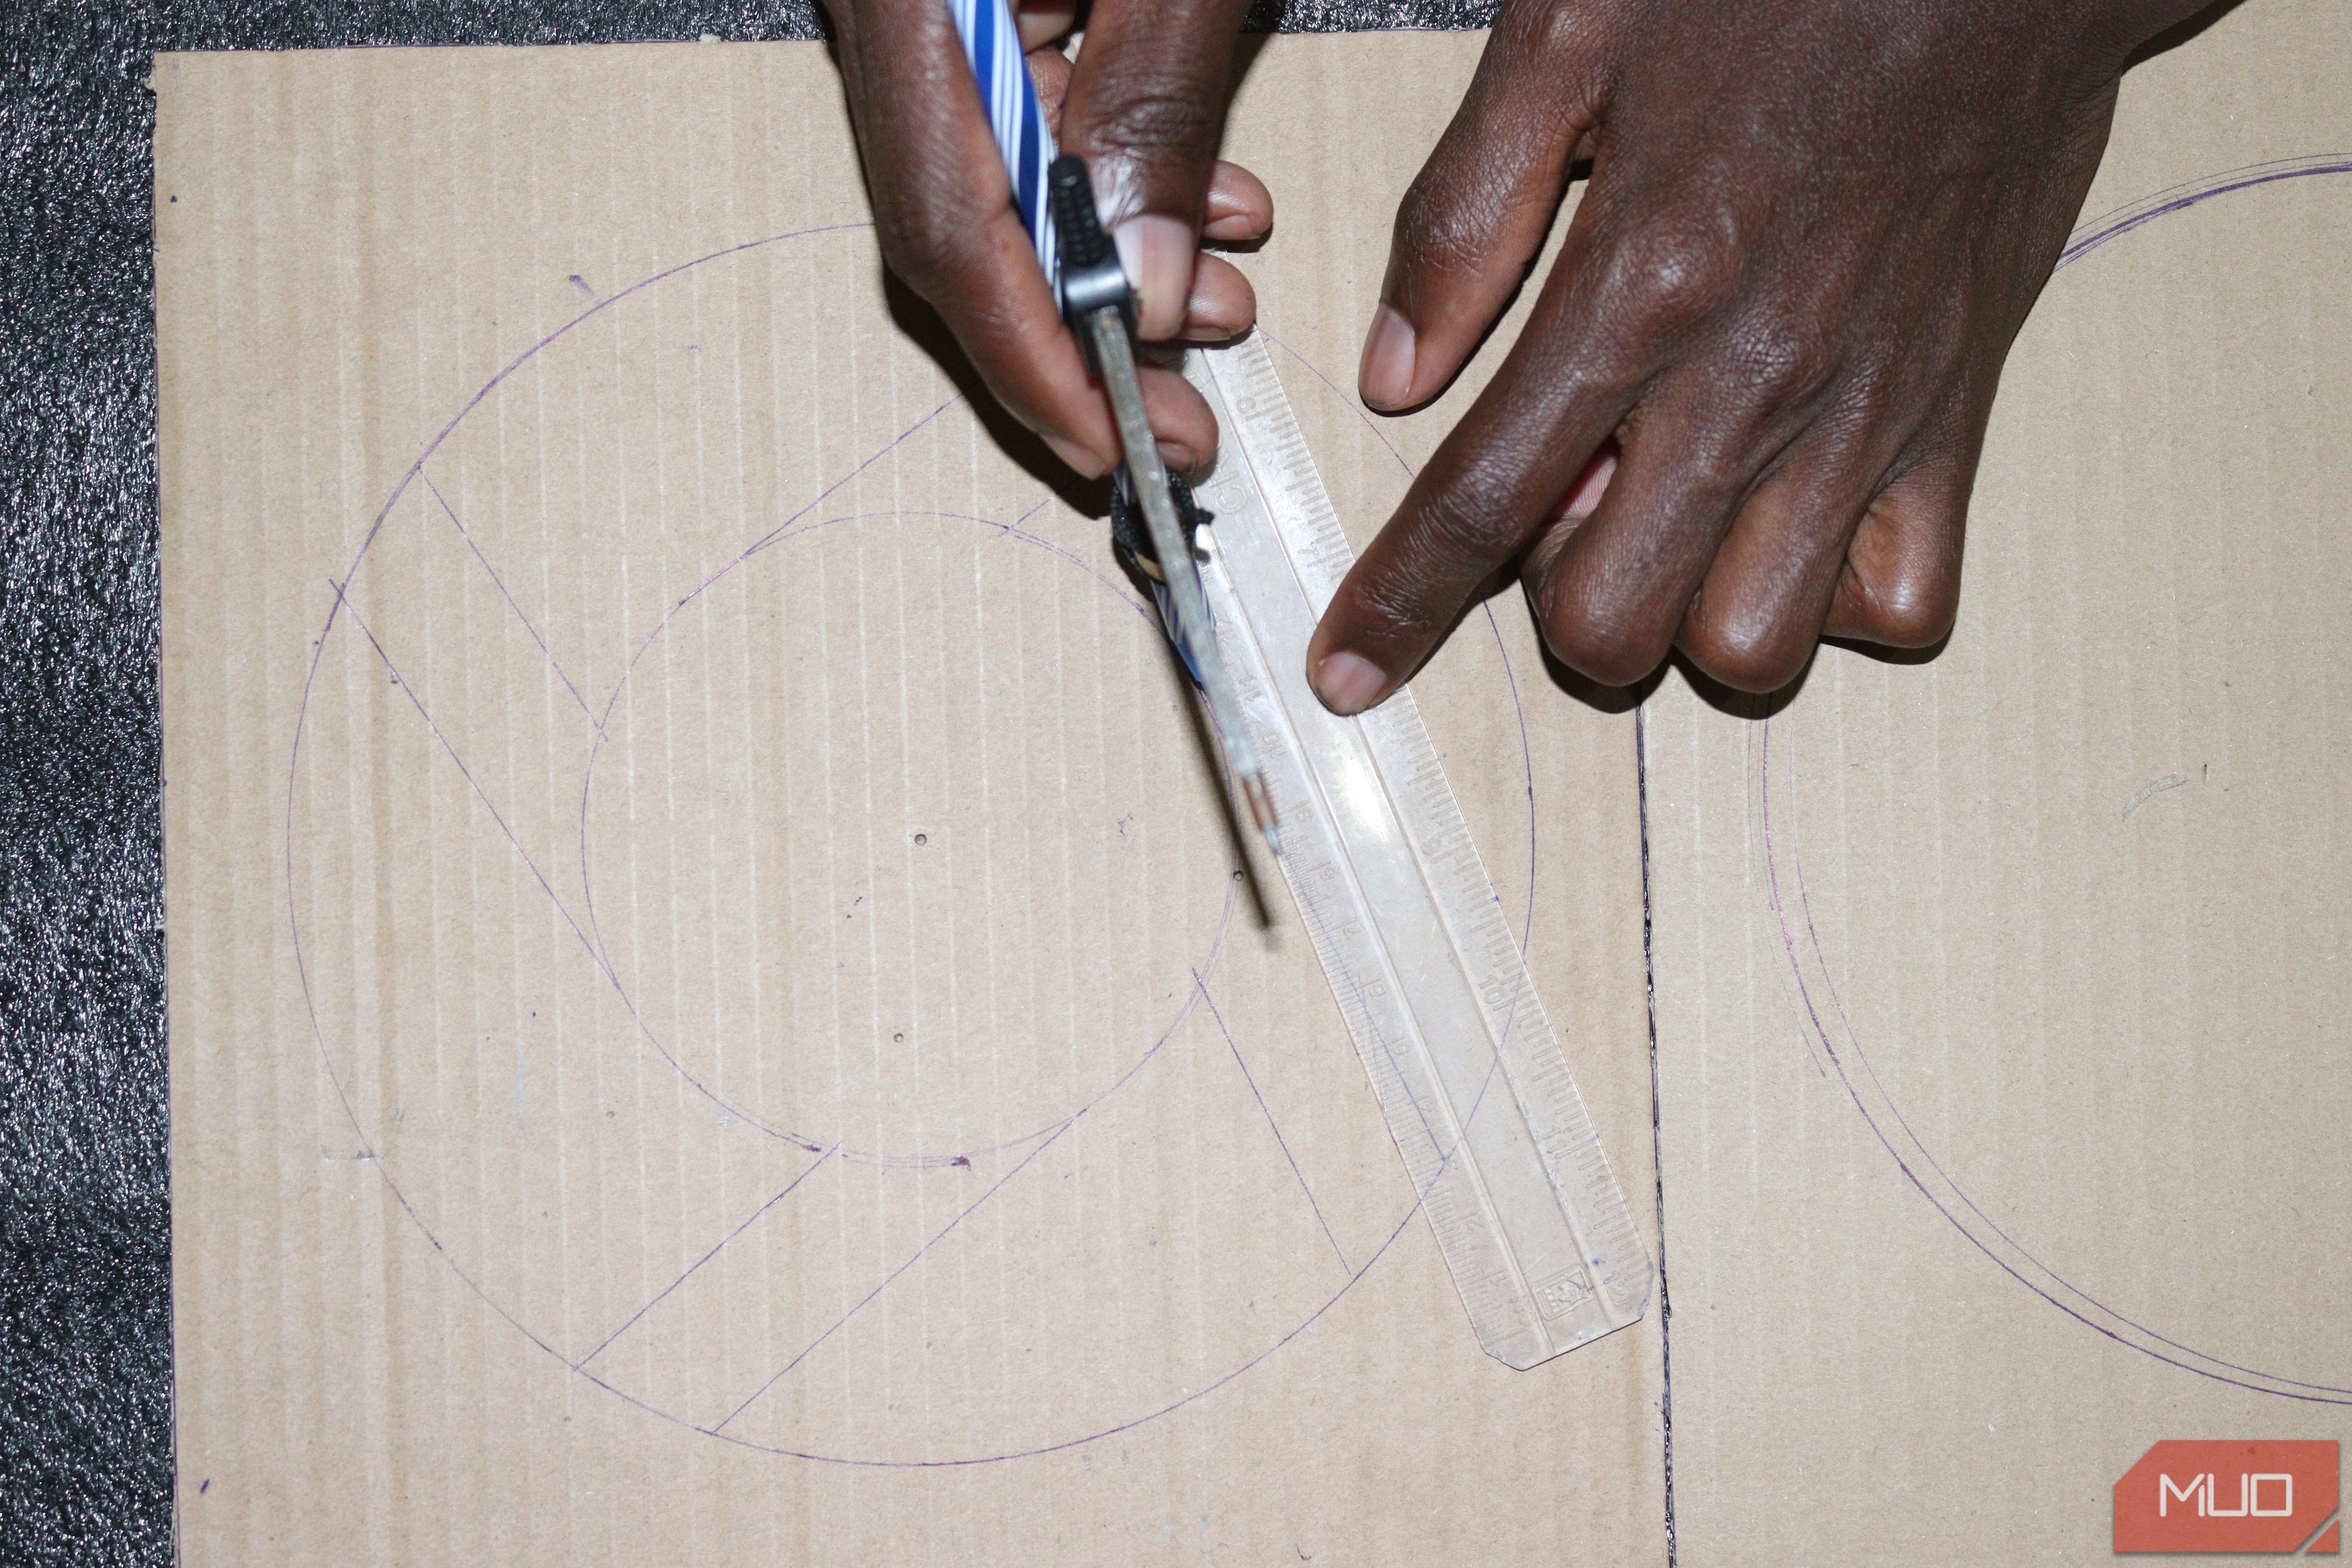
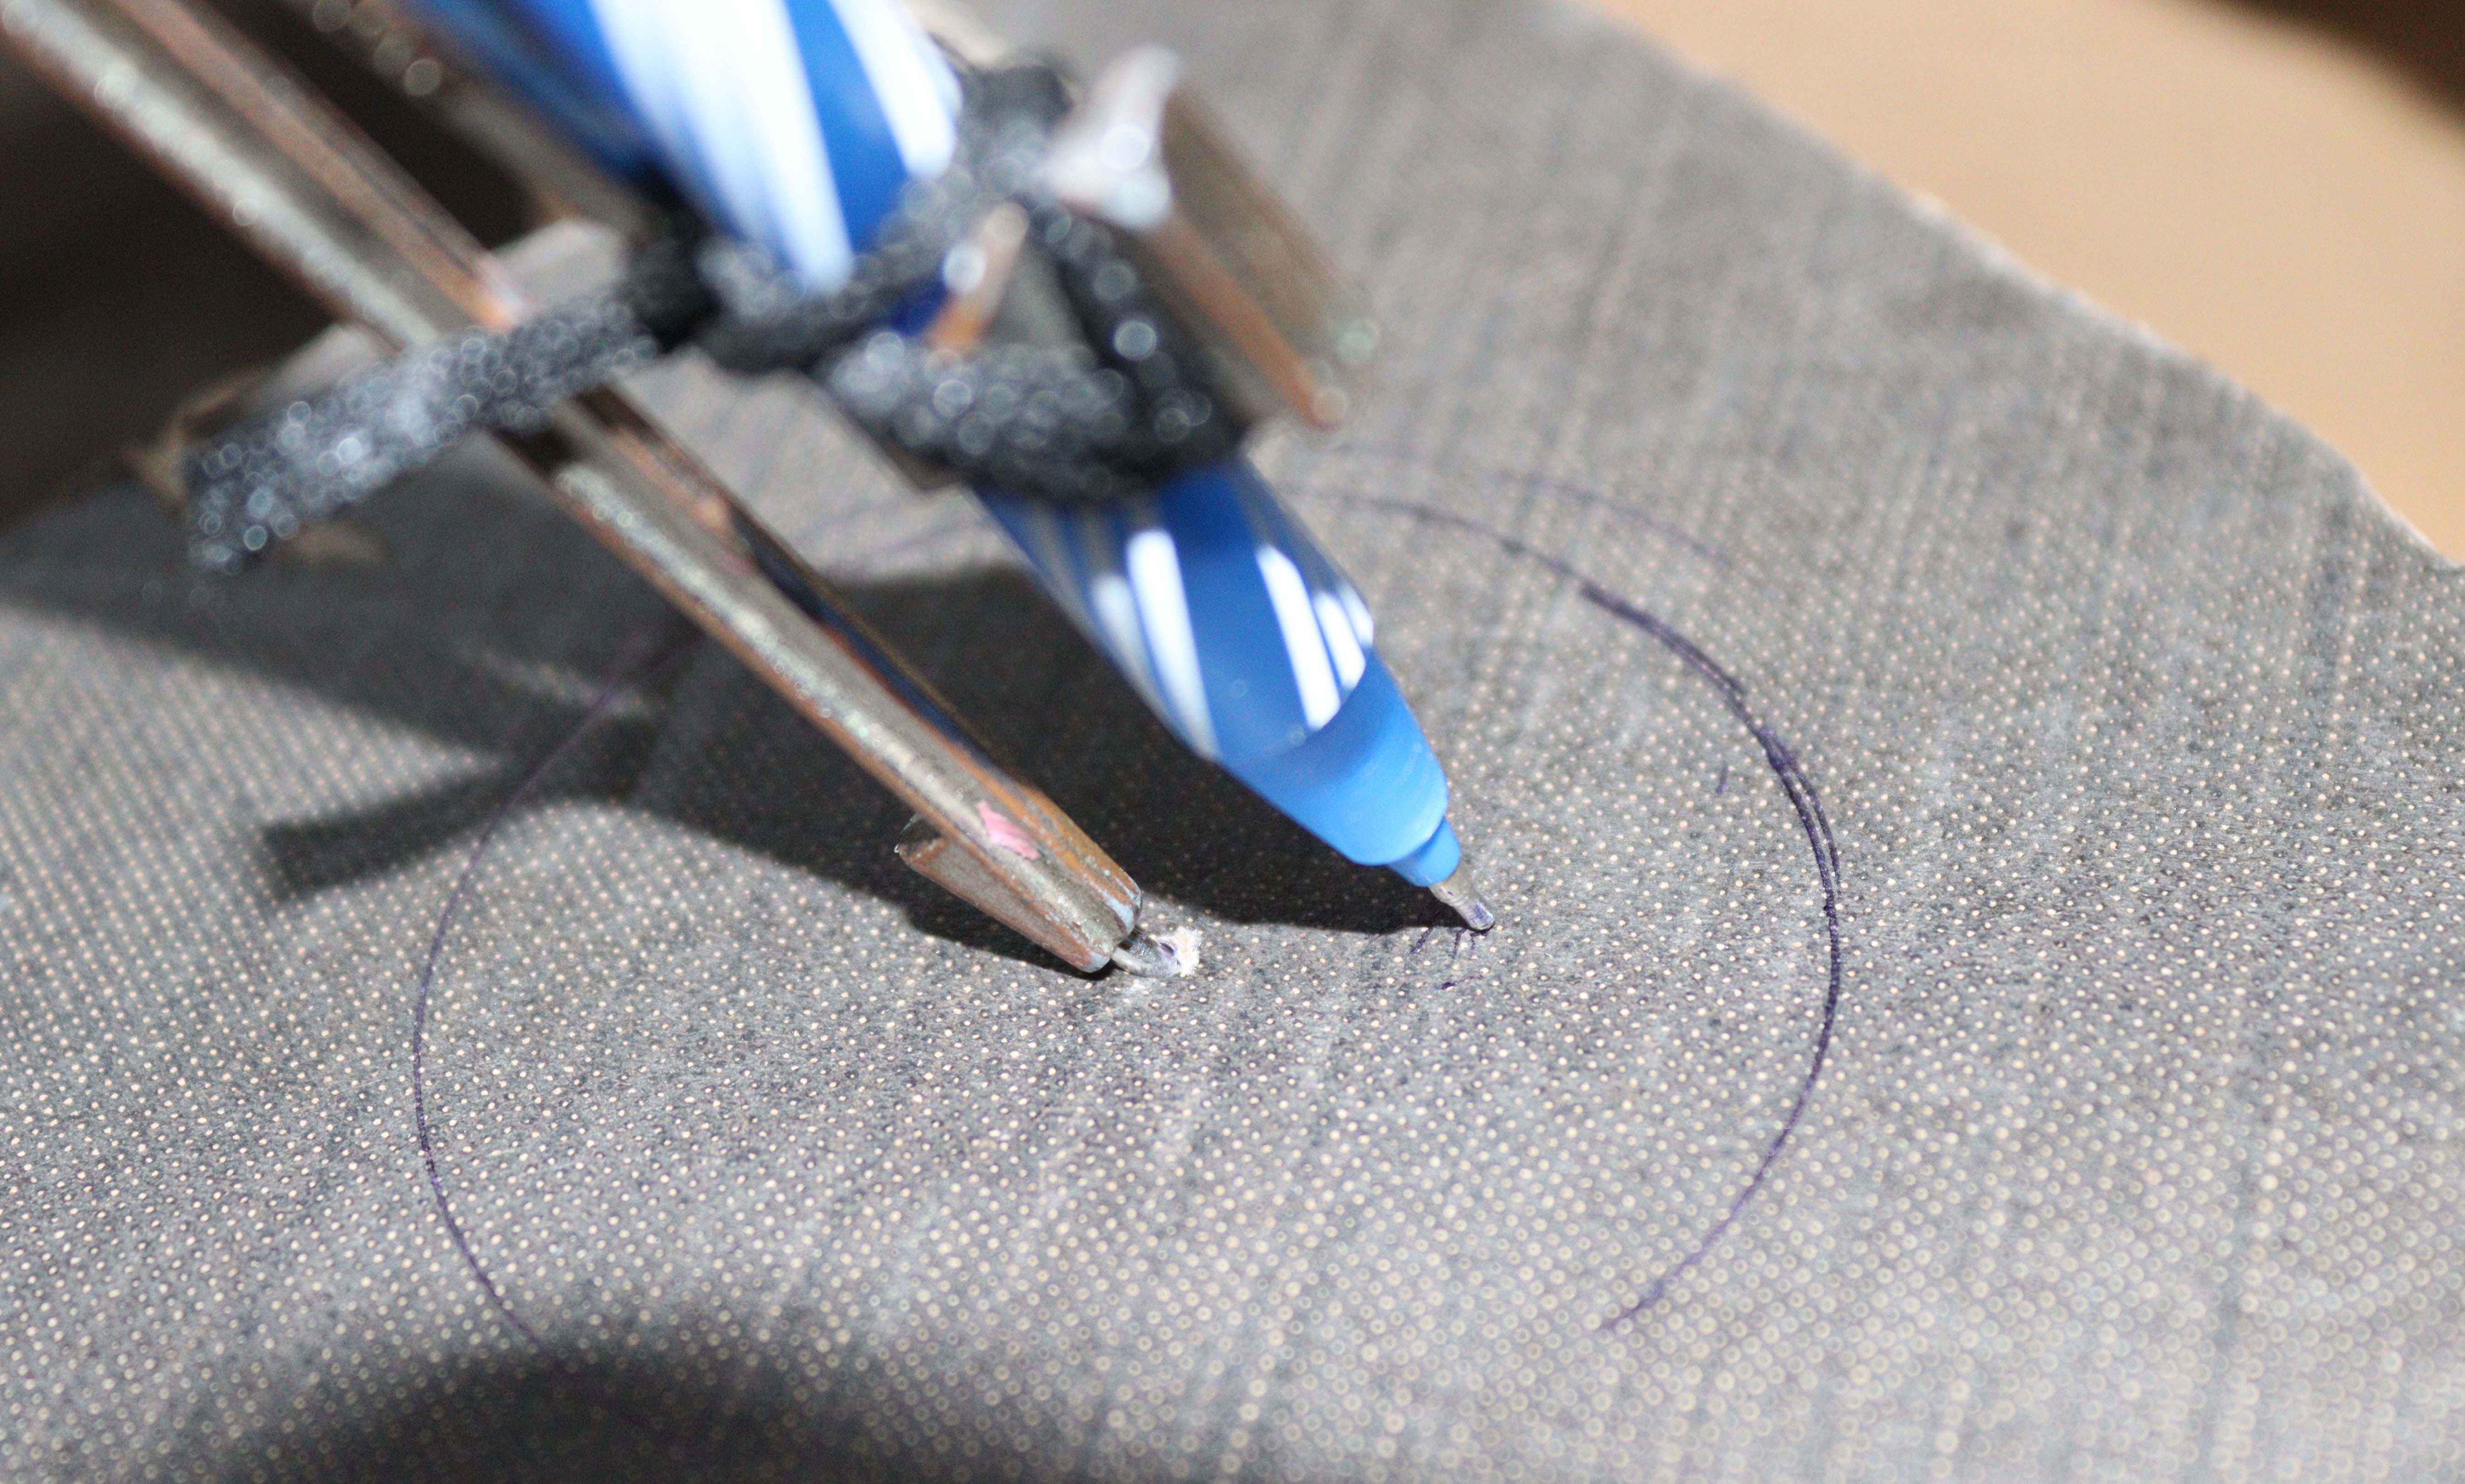
Draw the structure of each component of the fan on a section of cardboard using a compass, a pencil or a pen.
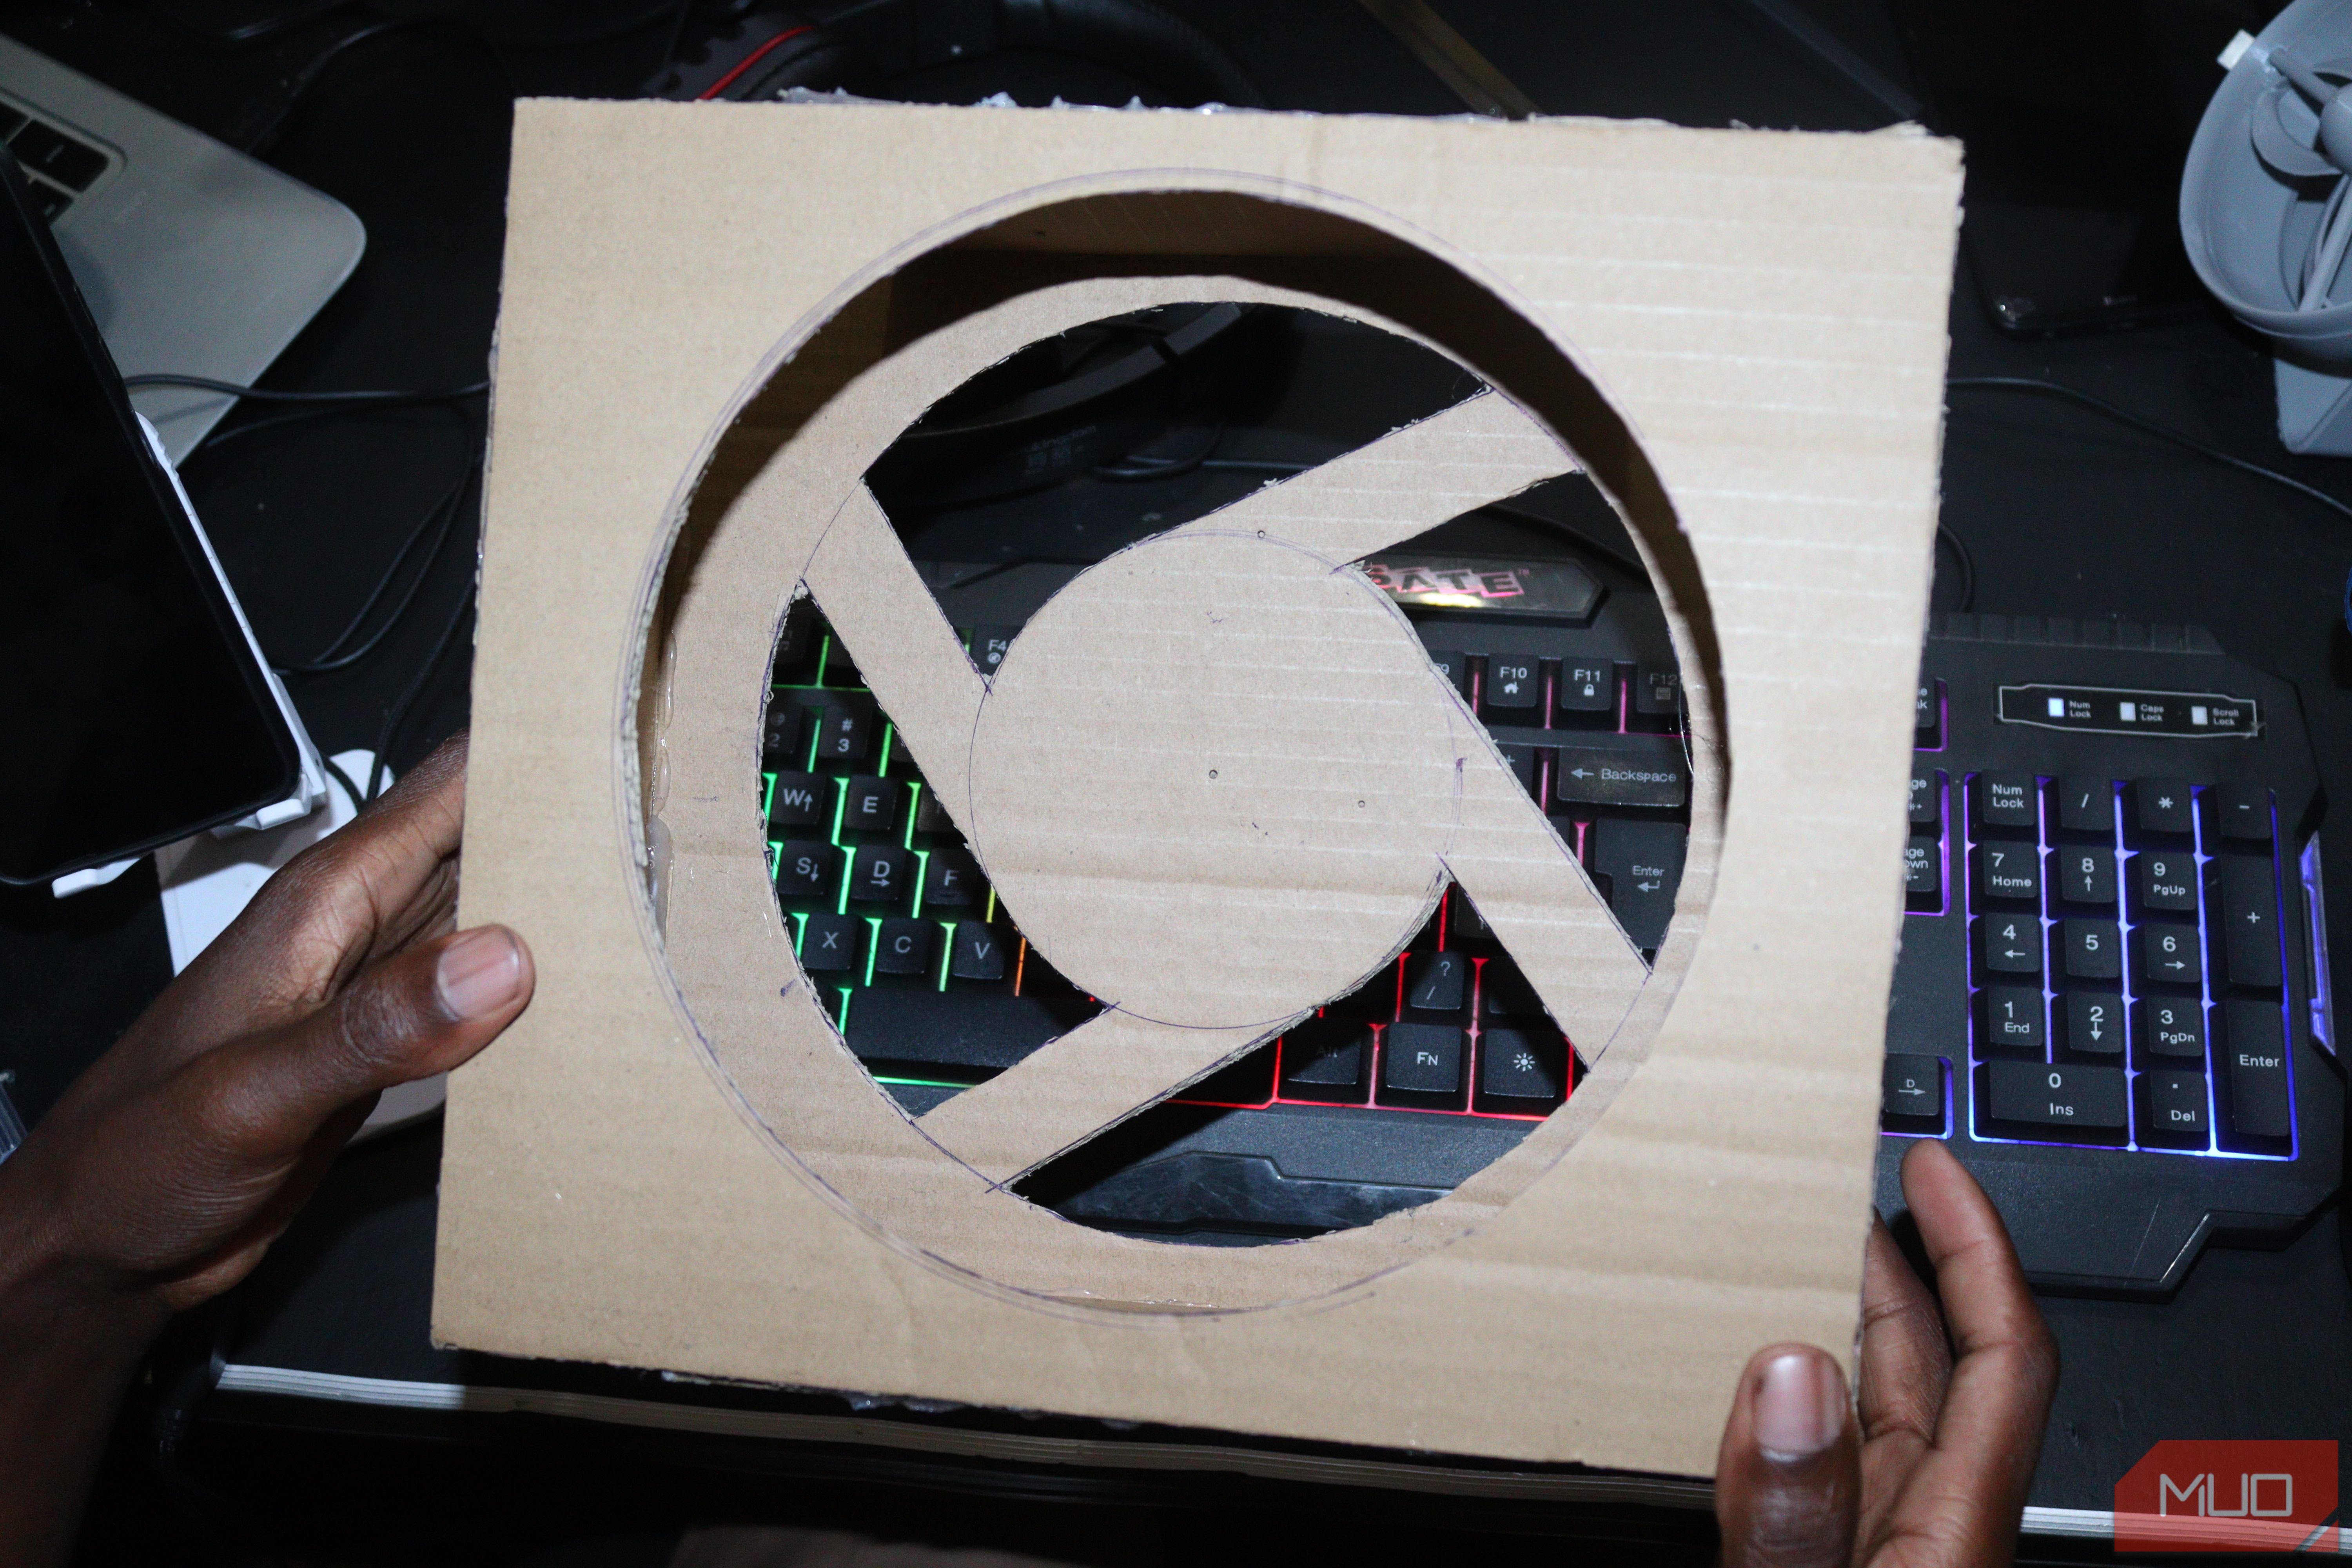
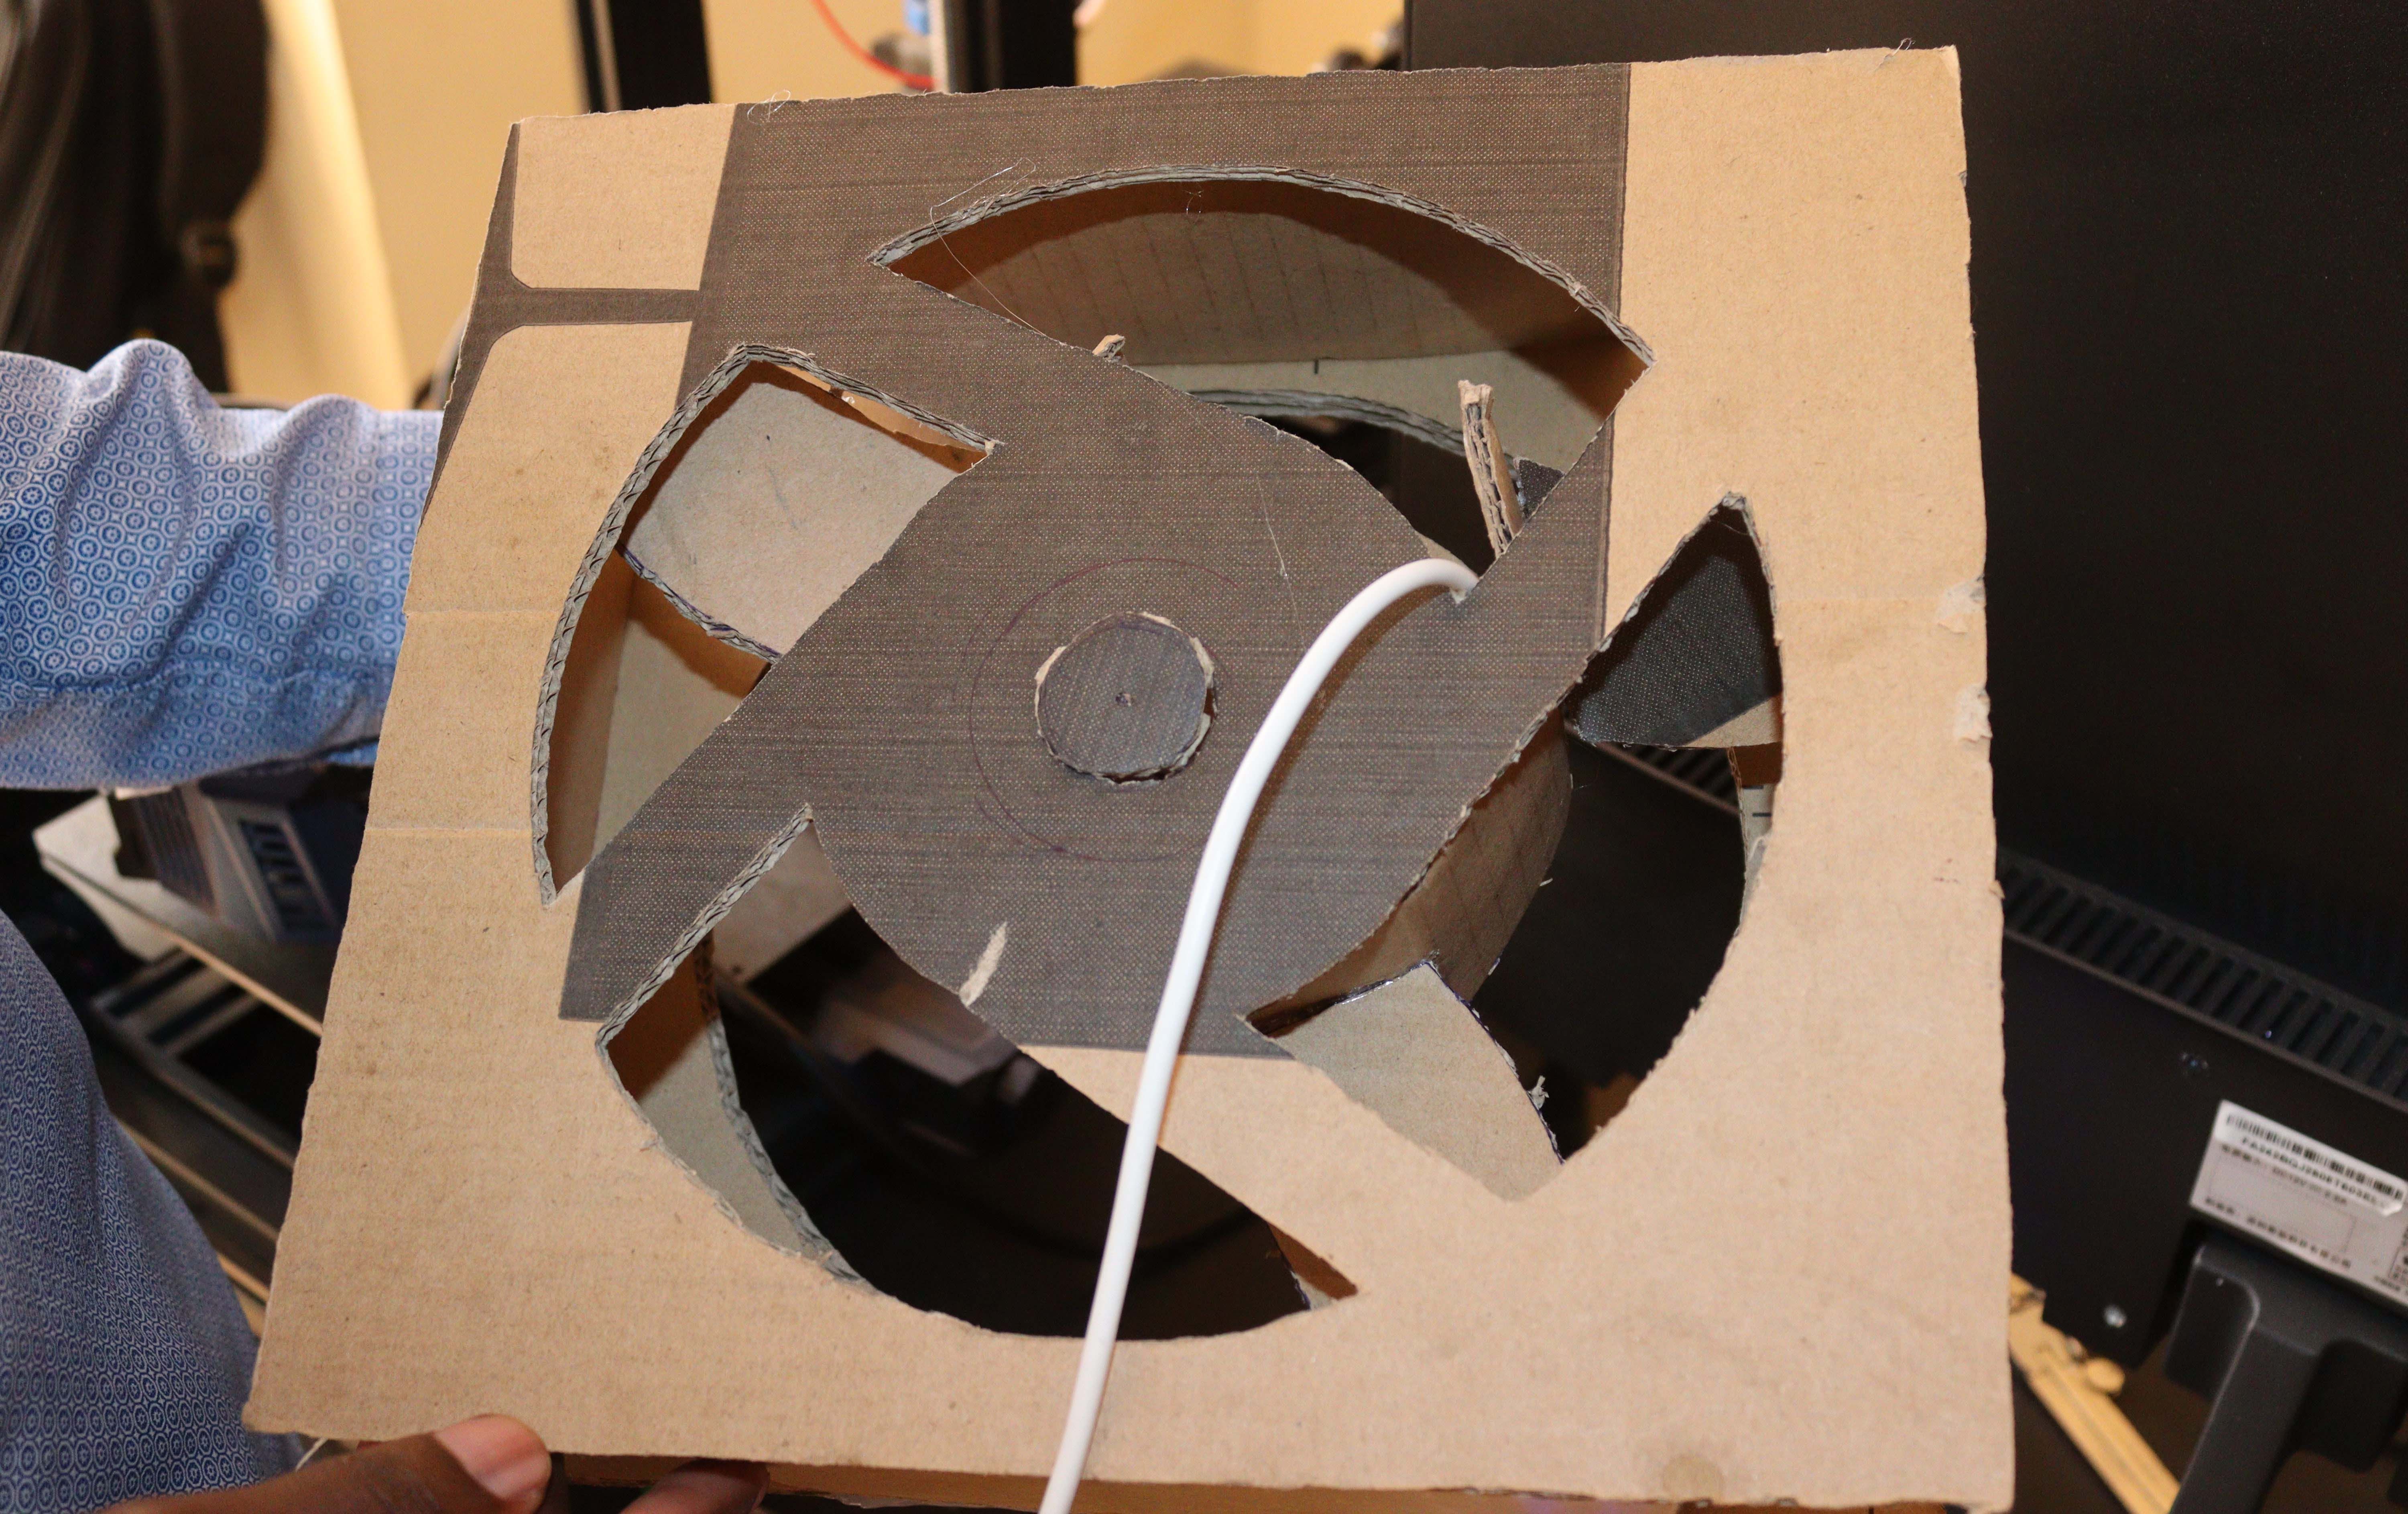
Cut out the sections with a scalpel or scissors. Make sure you use a measuring tape to make the pieces the same. Cut out four rectangles and arrange them along the four edges of the design. Use the glue to glue the top sections. Place a second box in the same size that you had drawn earlier. Create a circular pattern inside it and place it firmly on top. This should result in a structure similar to the one shown below.
Use smaller pieces to fill in the gaps at each corner.
Make the propellers and attach the motor
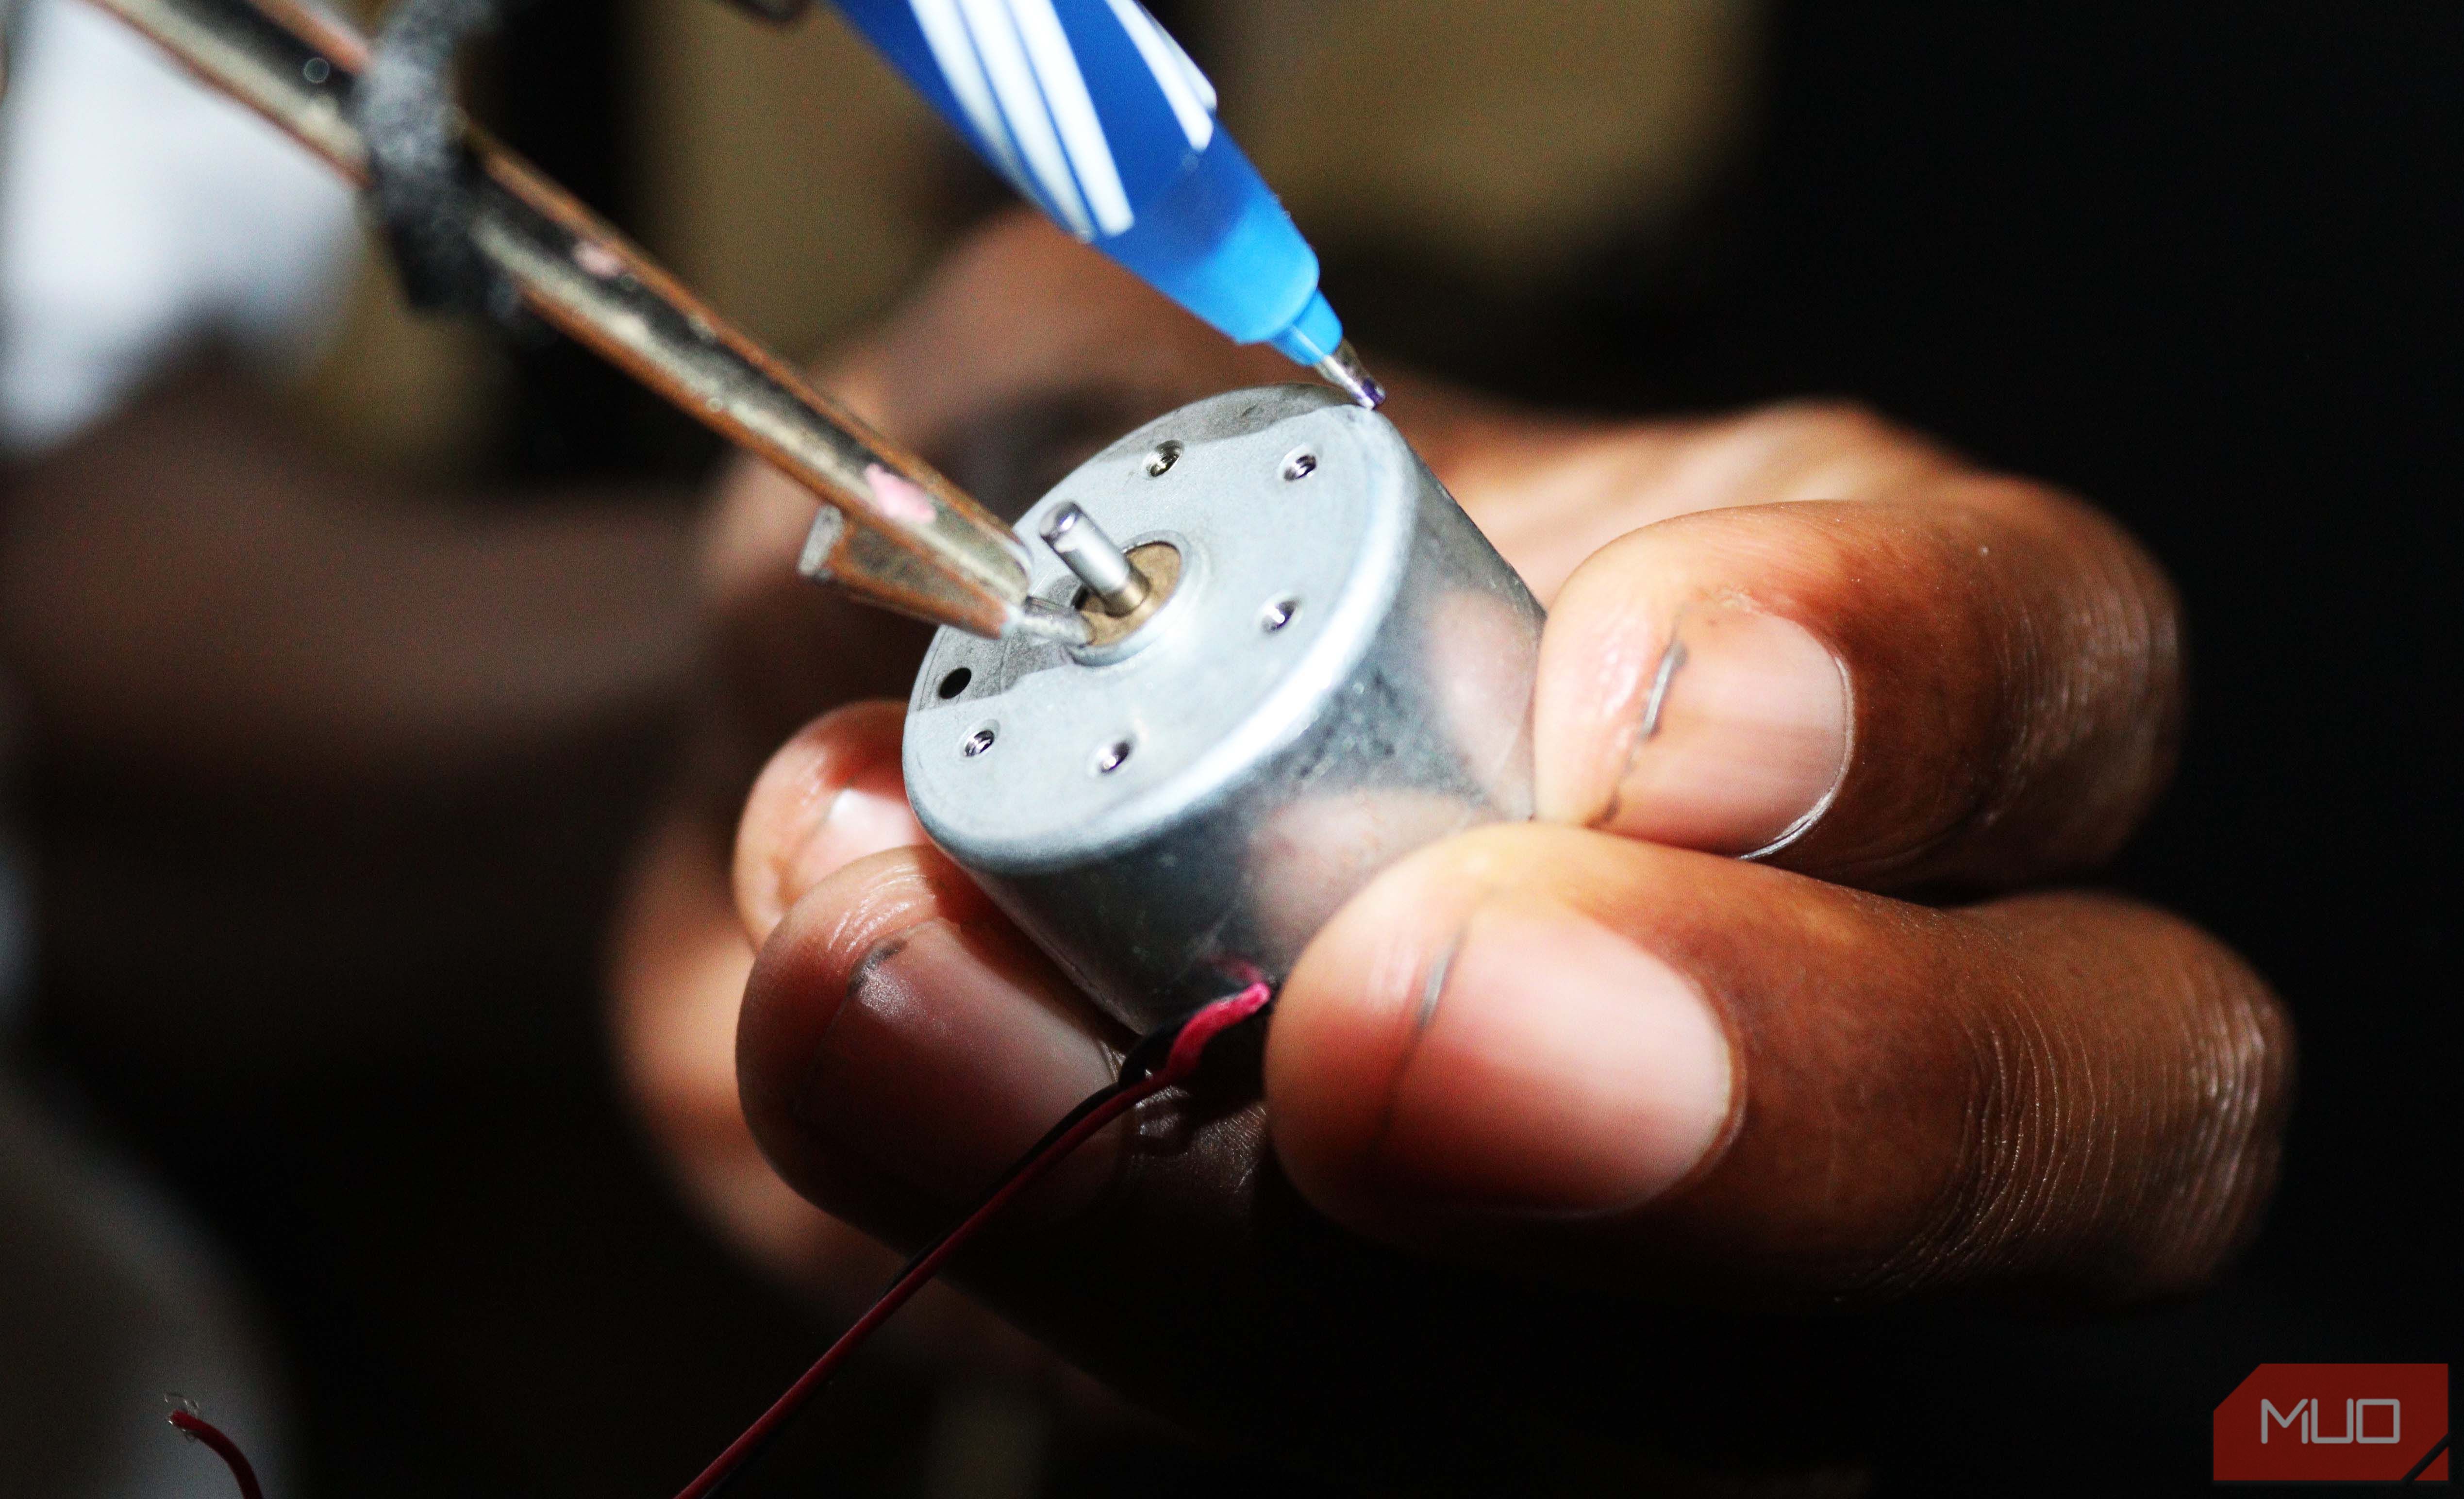
Use a compass to measure the distance between the middle and one end of the motor.
Cut out the circle you made earlier.
Here is the position of the motor. The four rectangular thin box pieces can be placed on the side. Wrap a long and thin piece of box around the box you have removed from the motor section. Apply glue to the box to make sure it is firmly held.
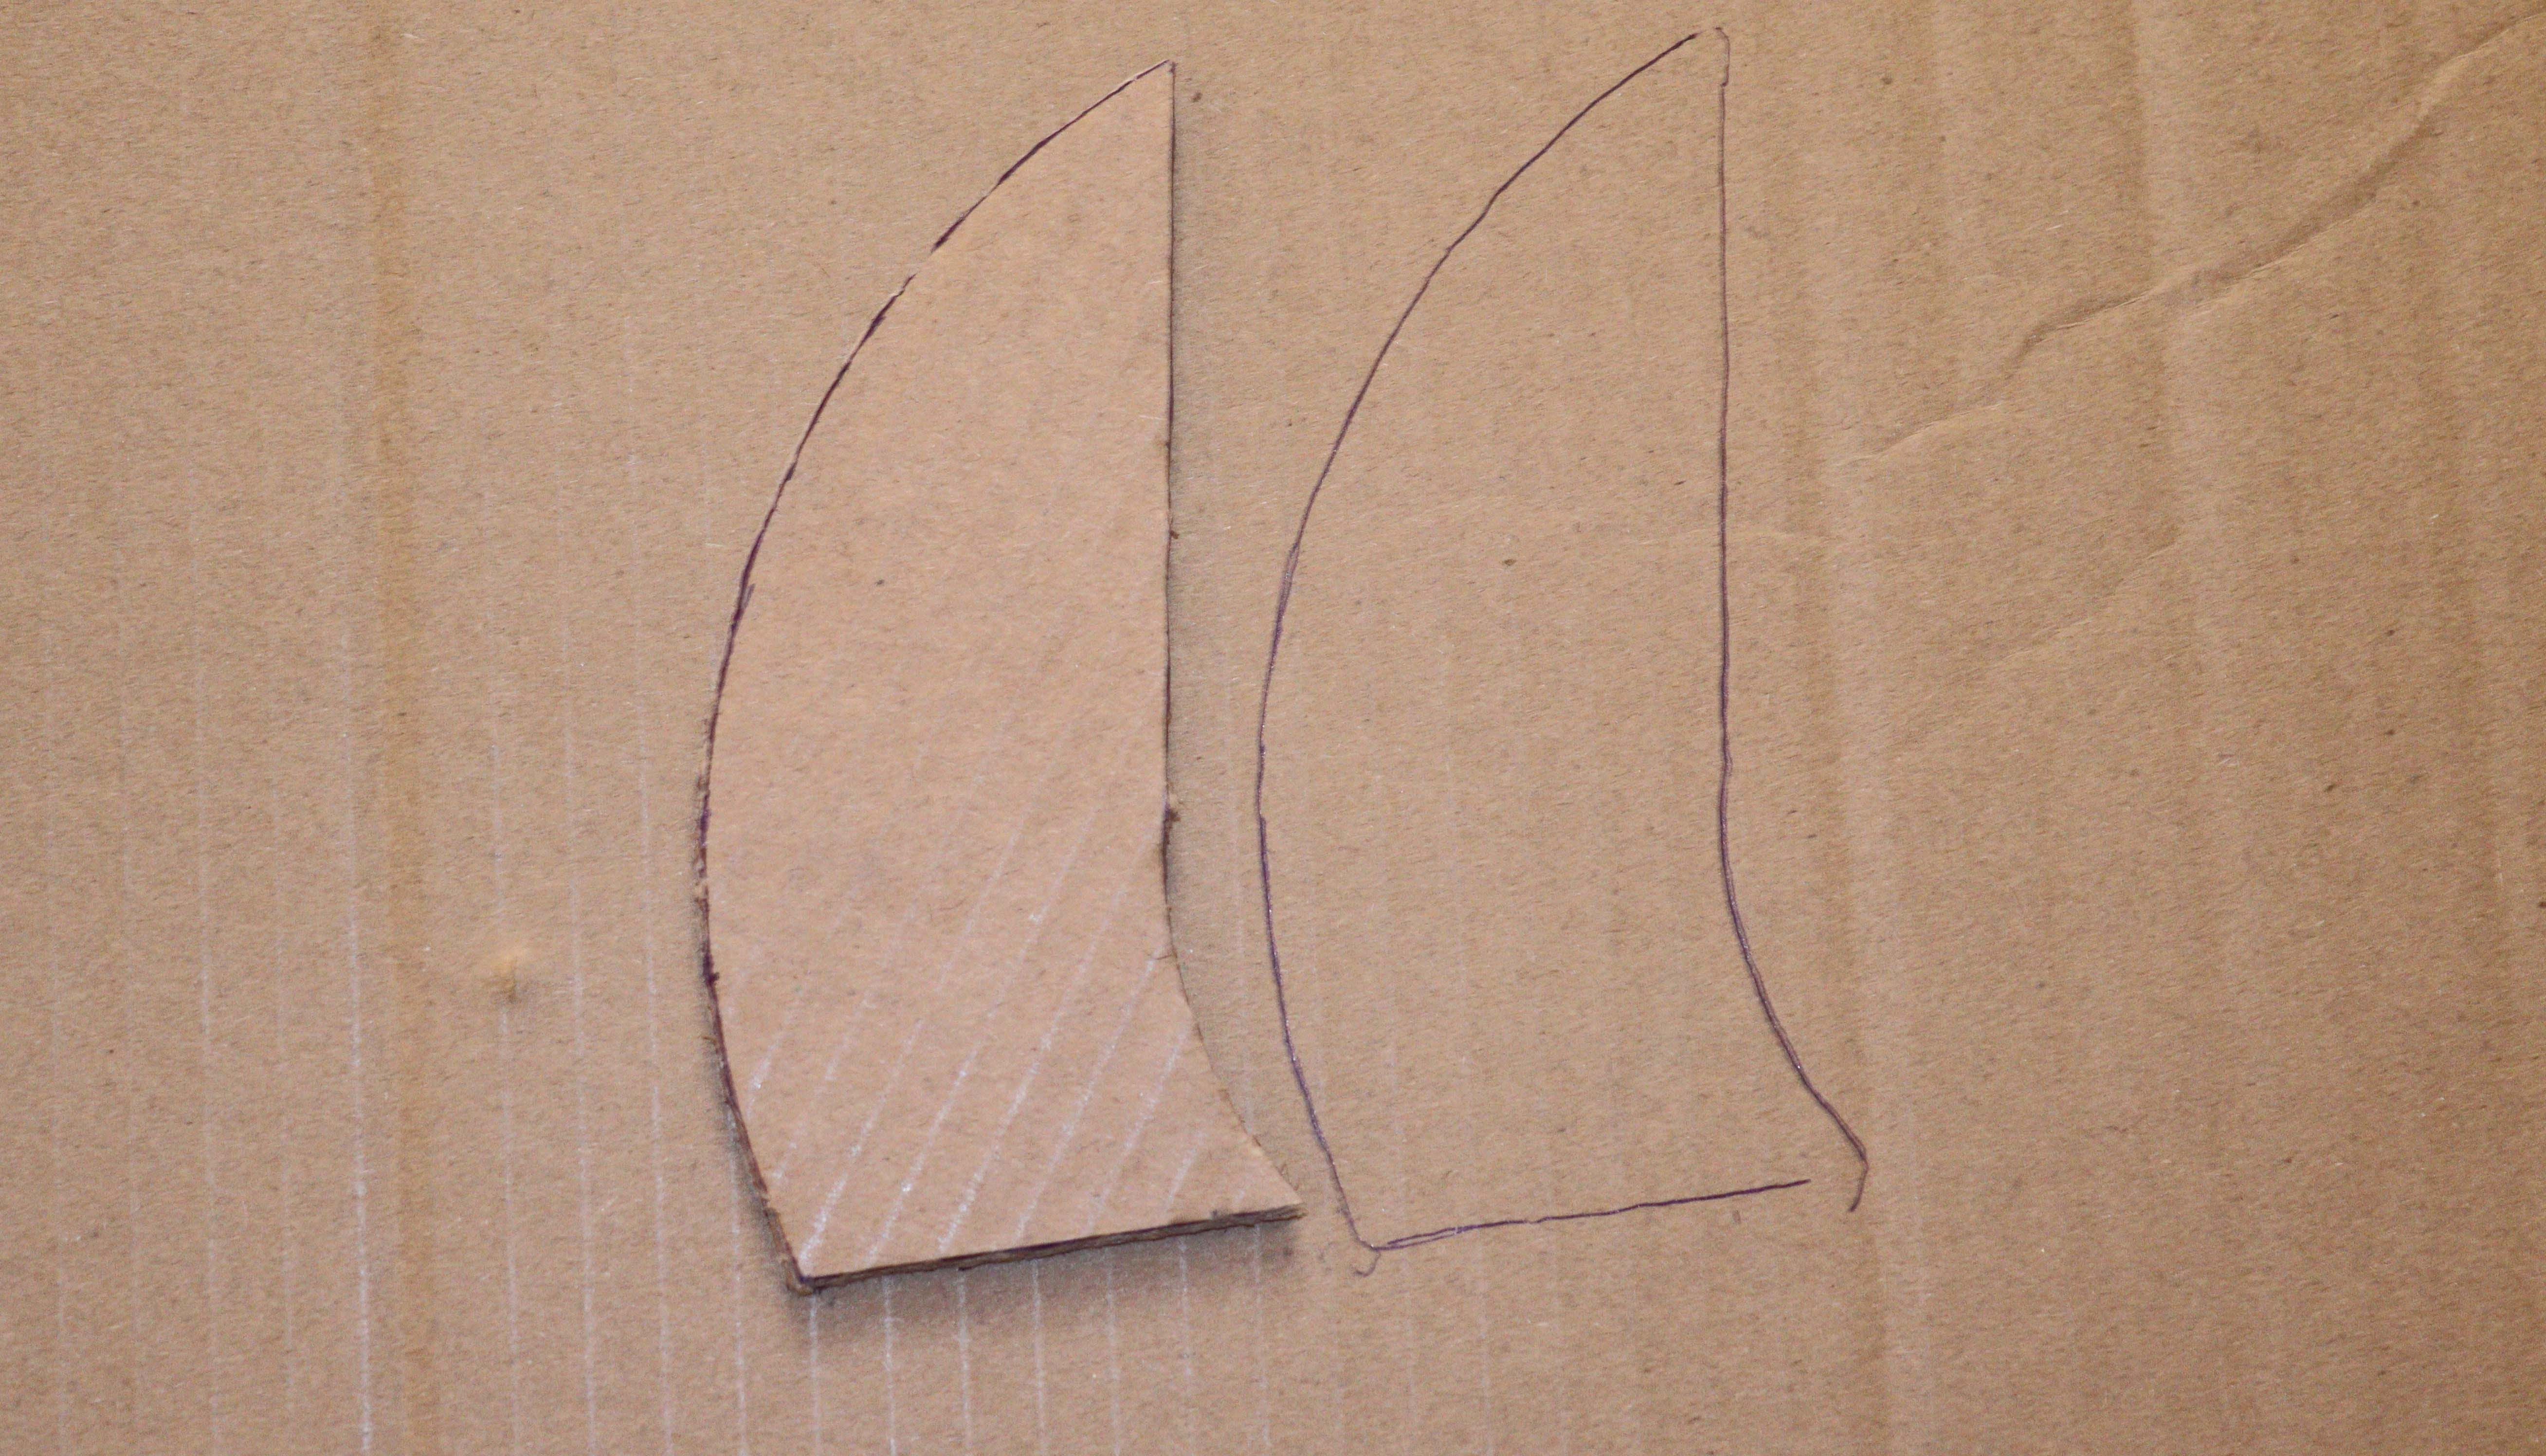
Draw a propeller, then use it as an example to cut six more. Attach them to your motor section by gluing one side.
Attach the motor with glue several small boxes. Apply glue to the motor casing.
Connect the USB cable to the motor, and plug it into the power source. You have now successfully created a fully-functional desktop fan out of cardboard.
Use a DIY desktop fan to keep your computer cool
After learning how to make a desktop fan, you can build one yourself. Both methods are inexpensive and allow you to customize the fan according to your preferences. Add stickers and other decorative elements to the fan, for example, to make it unique. You can experiment with different cardboard sizes and shapes or 3D printable files in order to make a fan that suits you.
